
Once your footage and audio share the same timecode, Adobe Premiere Pro can line them up automatically instead of clip by clip. This guide shows how to sync your camera and recorder clips using their metadata timecode inside Premiere Pro.
Step-By-Step User Guide
Metadata or LTC timecode?
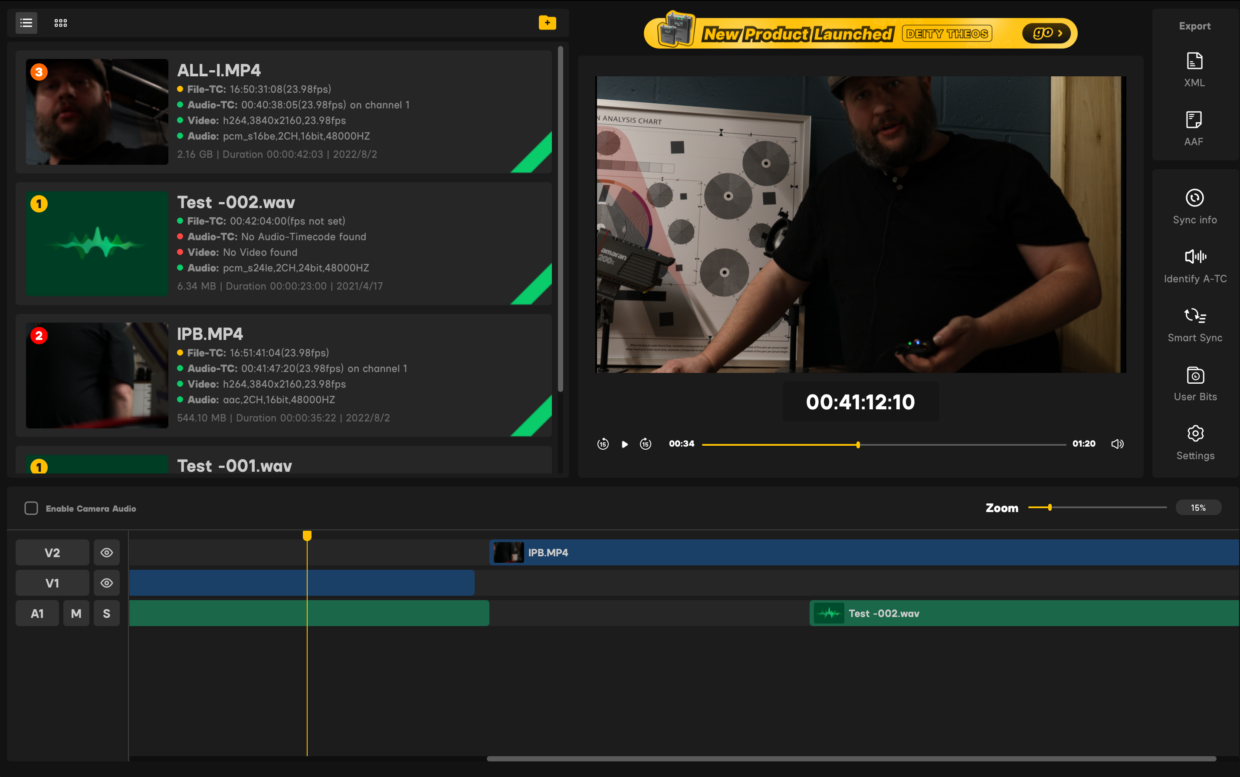
This tutorial covers how to sync metadata timecode. If you need to sync audio LTC timecode that was recorded on an audio track, use Sidus TC Sync.
Step #1
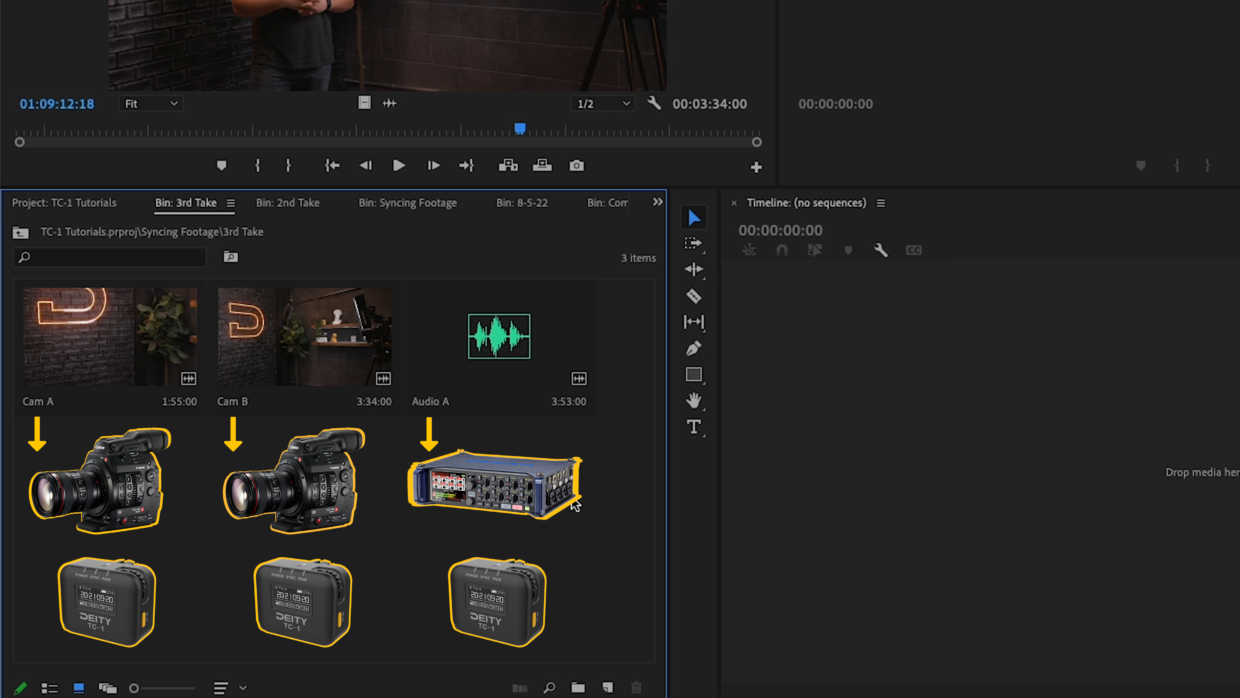
Import your clips in Premiere. For this shoot we were using two C300s and a Zoom F8, all of them being fed timecode from Deity TC-1s.
Step #2
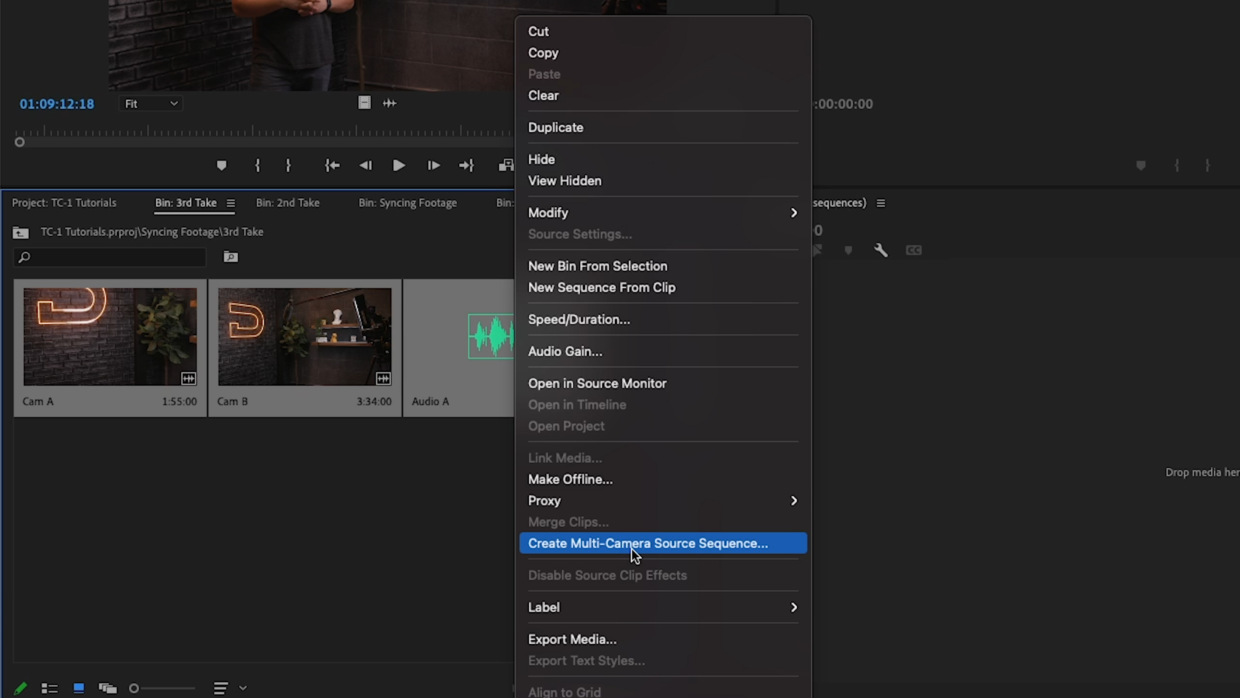
Highlight all of the clips that you would like to sync and right click.
In this Options menu, scroll down and select “Create Multi-Camera Source Sequence.”
Step #3
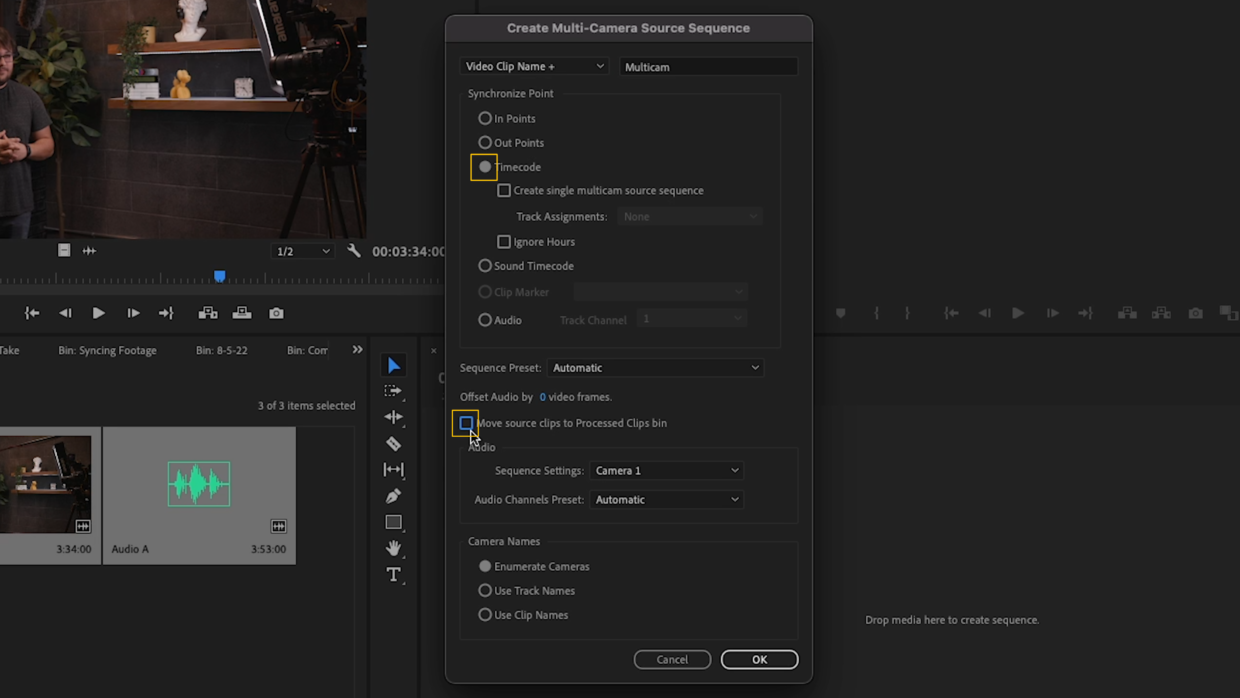
Make sure “Timecode” is selected as your Synchronize Point.
If you don’t want your clips placed into a new bin after syncing them, uncheck “Move source clips to Processed Clips bin.”
Step #4
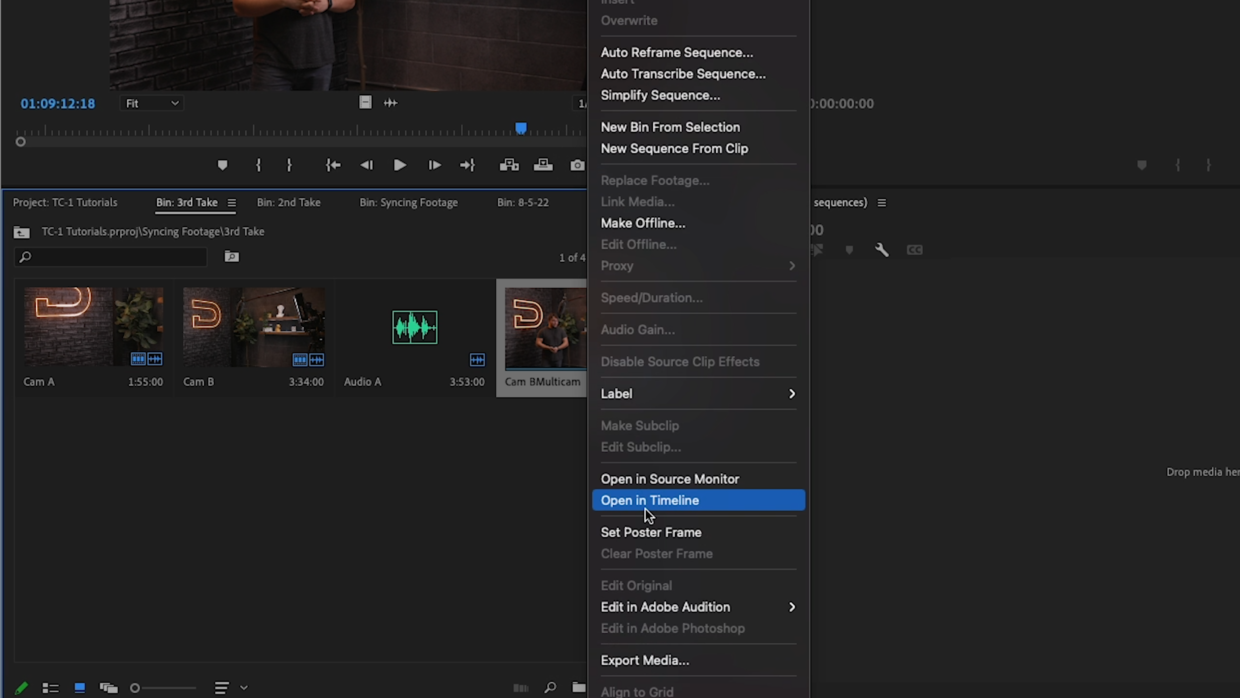
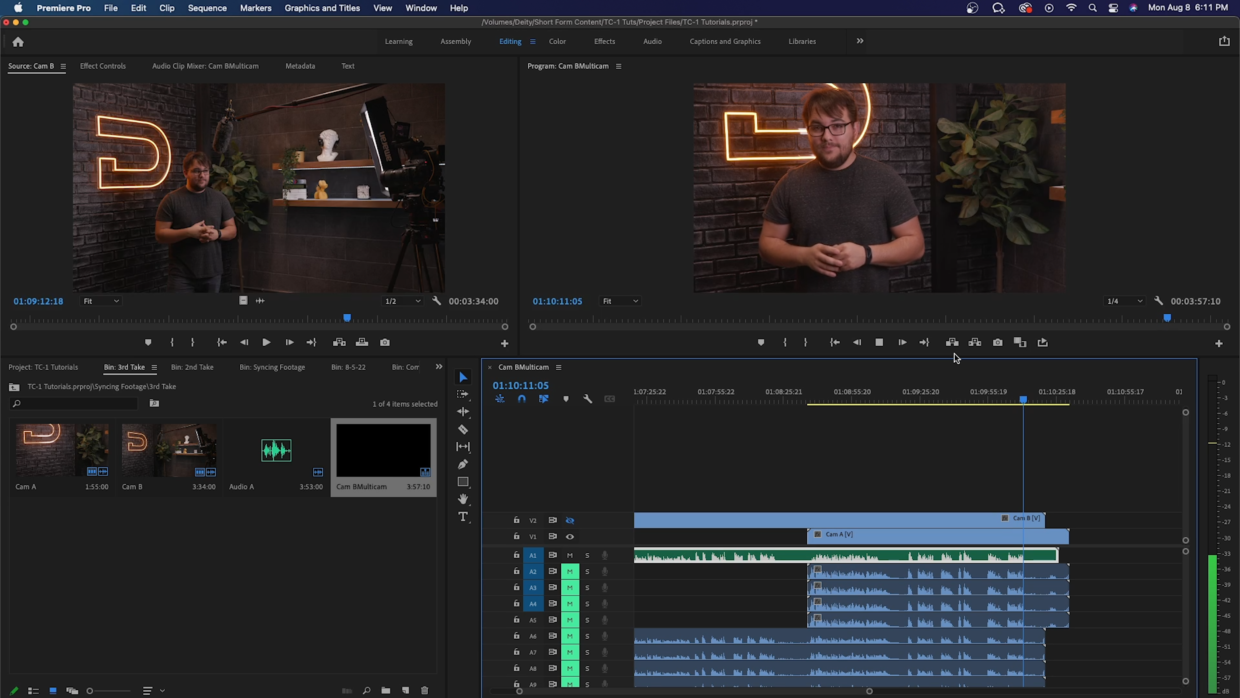
Back in your media browser, right click the new sequence and select “Open In Timeline.”
You’re Ready To Edit!
Your clips are now perfectly synced and you’re ready to dive into the edit!
Looking for an easy timecode solution to speed up your editing? Check out our Deity TC-1!