
Pairing your THEOS transmitters and receiver takes only a few minutes. This guide walks you through attaching the antennas, scanning for the cleanest frequencies, and pairing each transmitter so you are ready to record with a rock-solid UHF link.
Step-By-Step User Guide
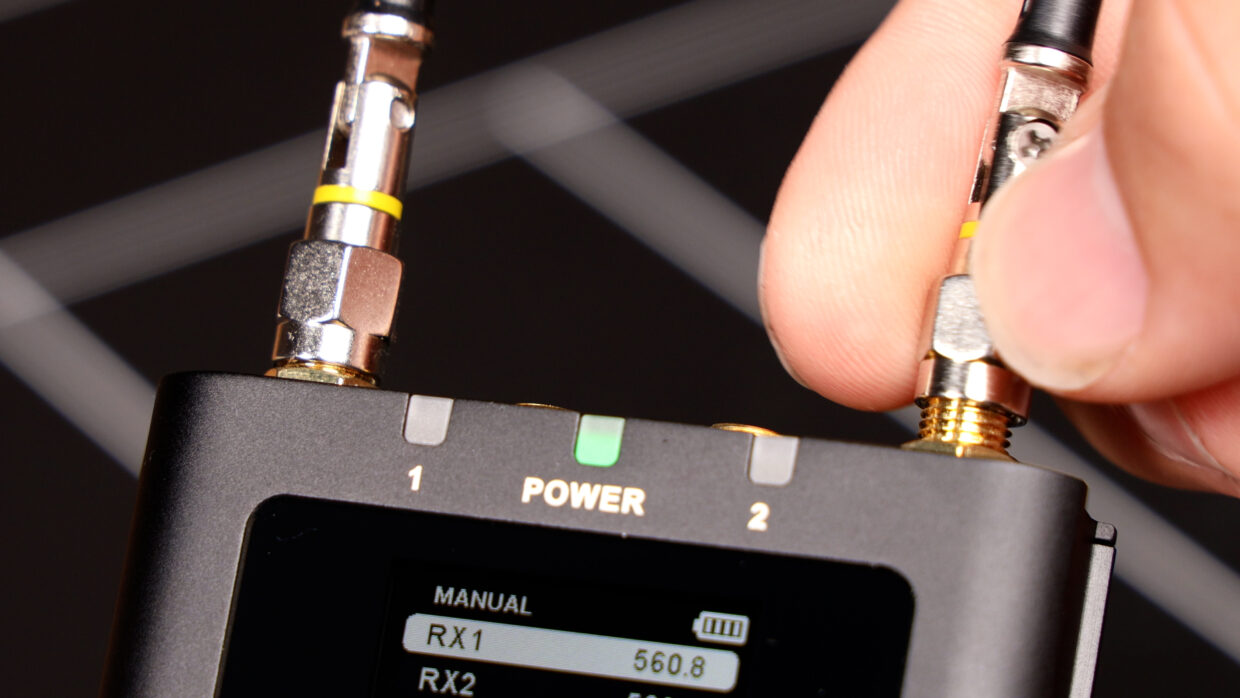
Step #1
First, make sure your antennas are attached to the transmitter and receiver, the units will fail to pair without them.
Step #2
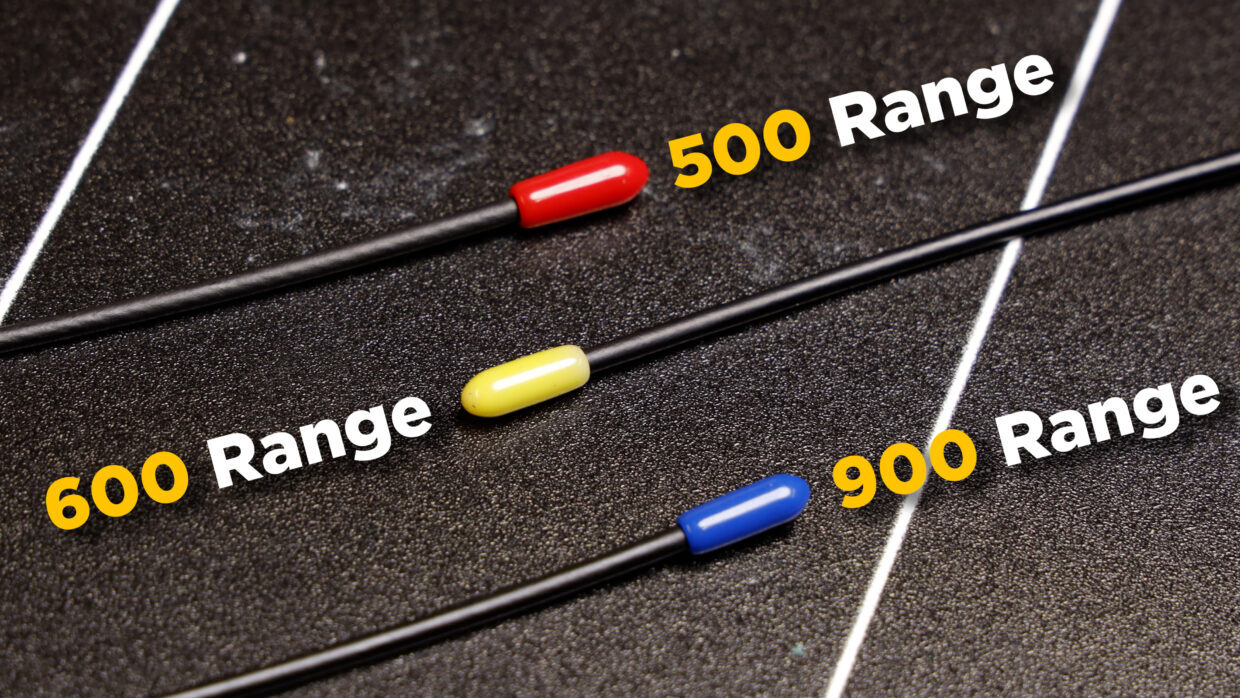
The antenna tip color corresponds to the specific frequency range it is designed to be used with. Here is a quick graphic explaining which selections to use.
For this tutorial we will be using frequencies in the 500 range, so all of our devices will be using red antennas.
Step #3
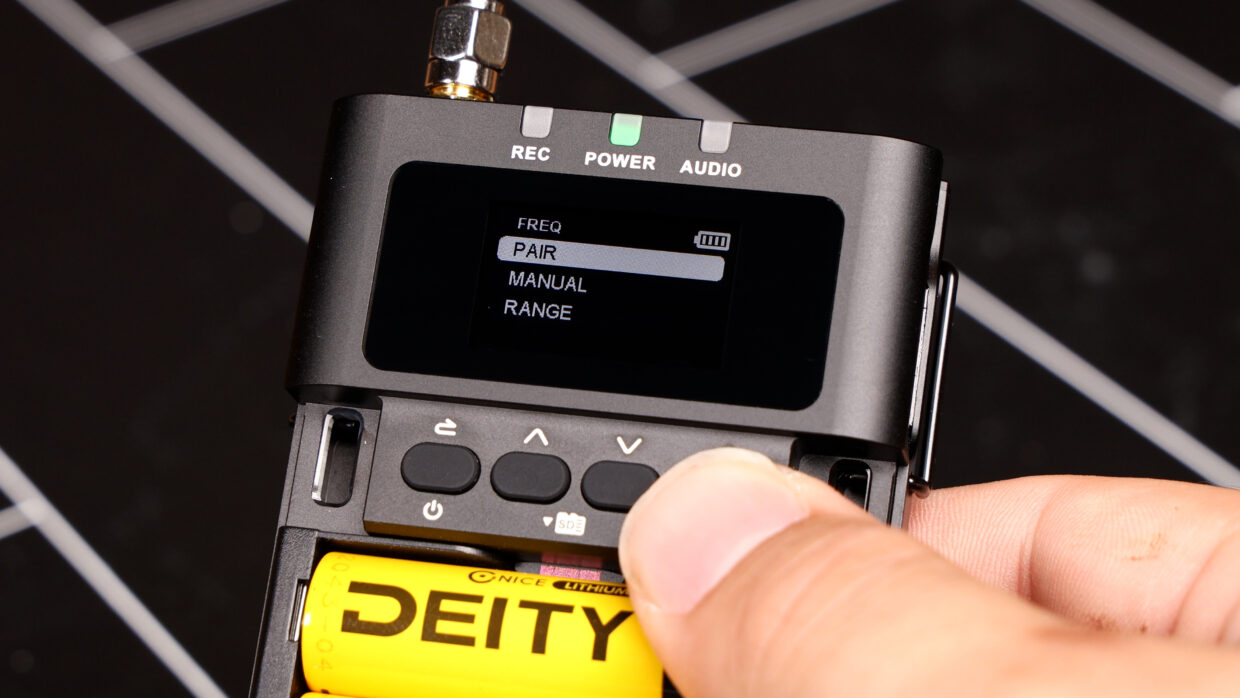
Next, open up the Frequency menu on your transmitters and standby to pair.
Step #4
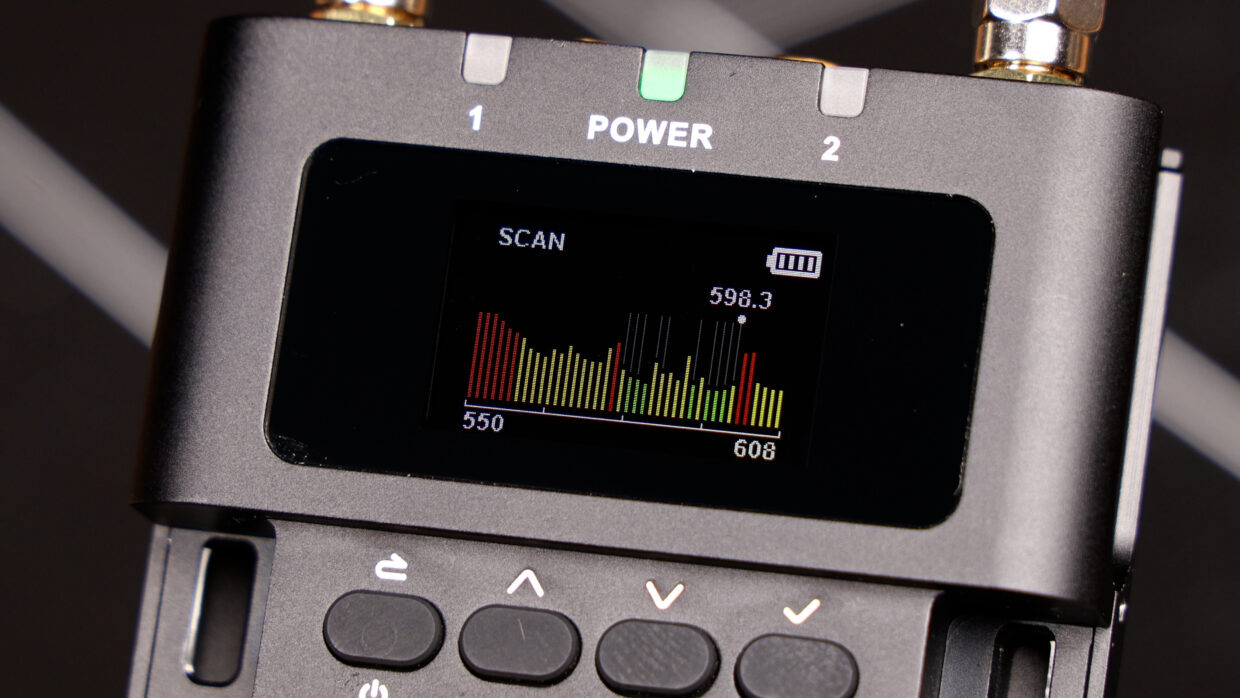
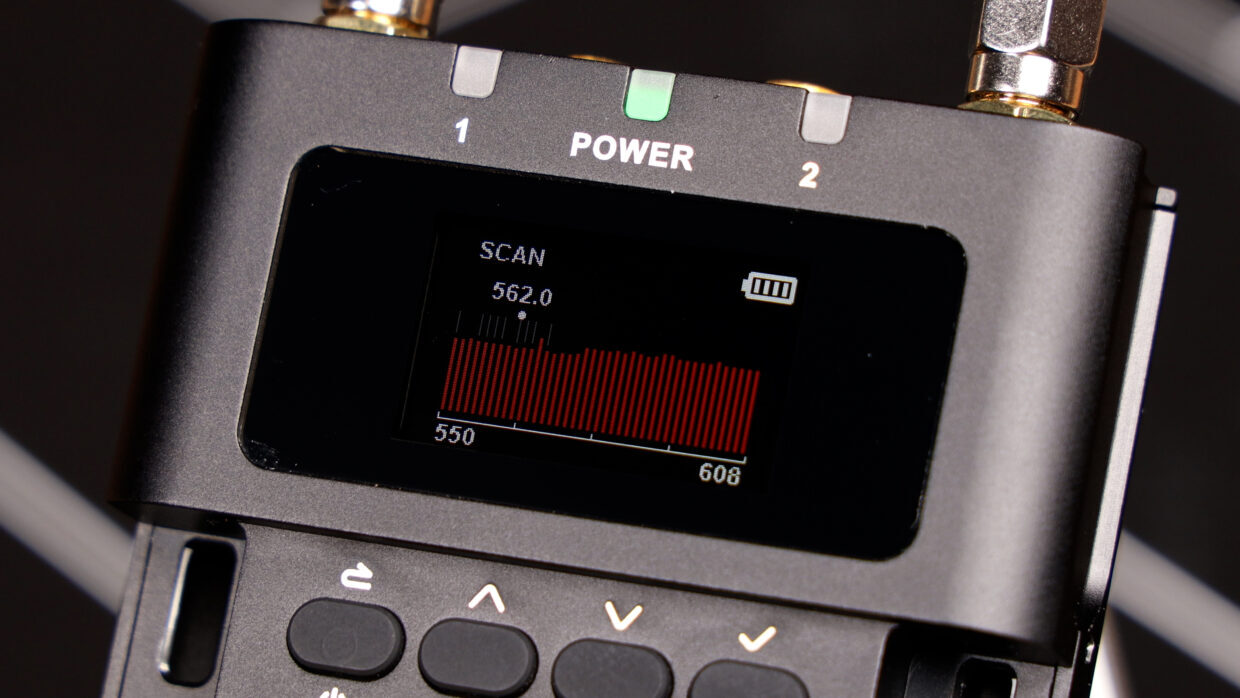
In your receiver’s Frequency menu, select scan.
This will measure the spectrum in the selected range and automatically find the cleanest channels for your devices to be on.
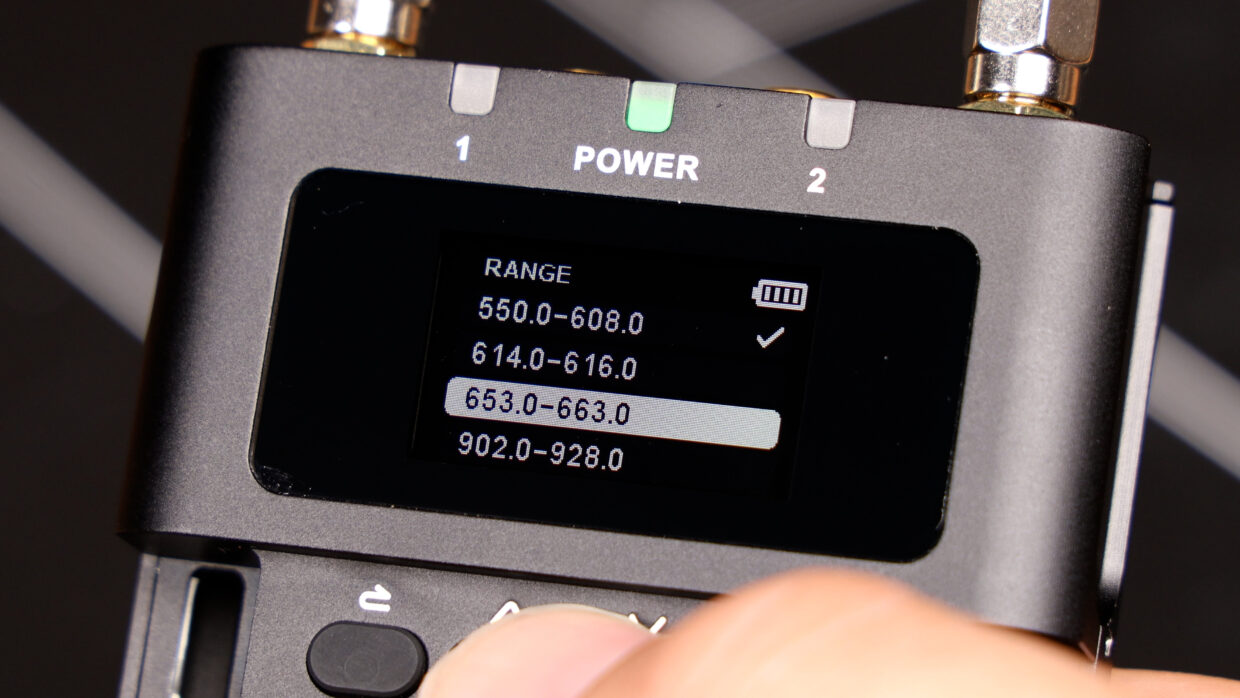
Step #5
If your current range is crowded or the noise is too persistent, you can always change the frequency range altogether.
Step #6
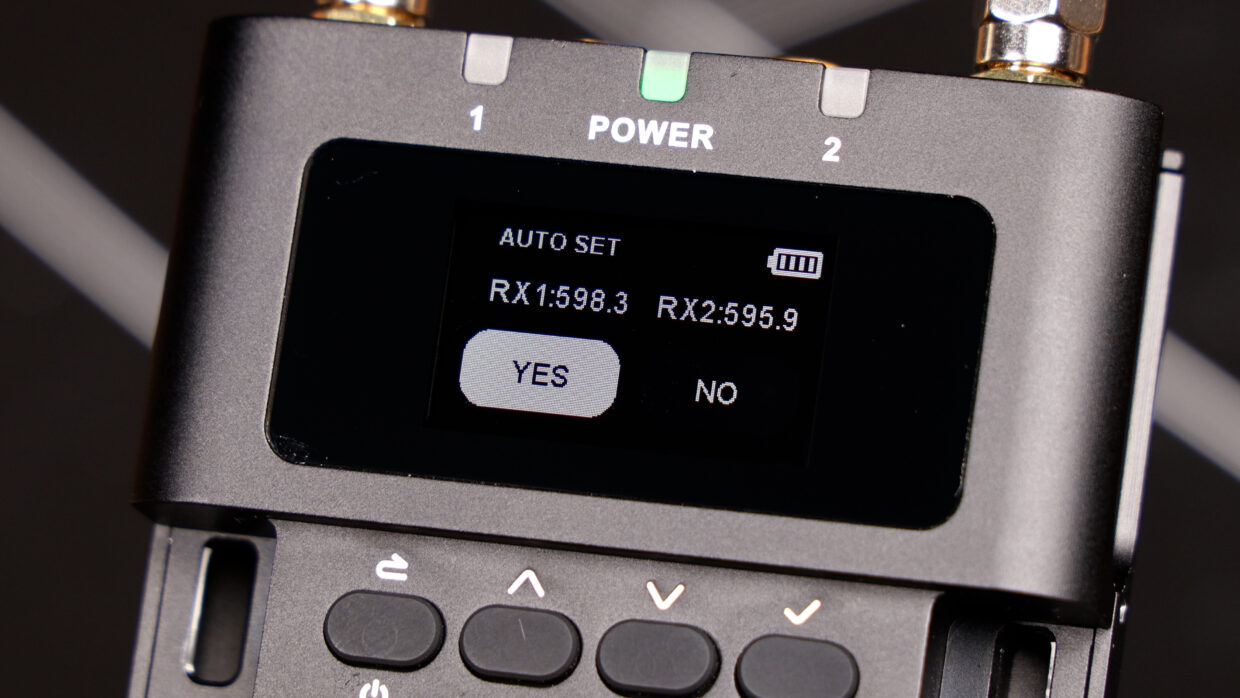
Once the scan is complete, you’ll see the channels it has selected for you.
Press Yes to accept.
Step #7
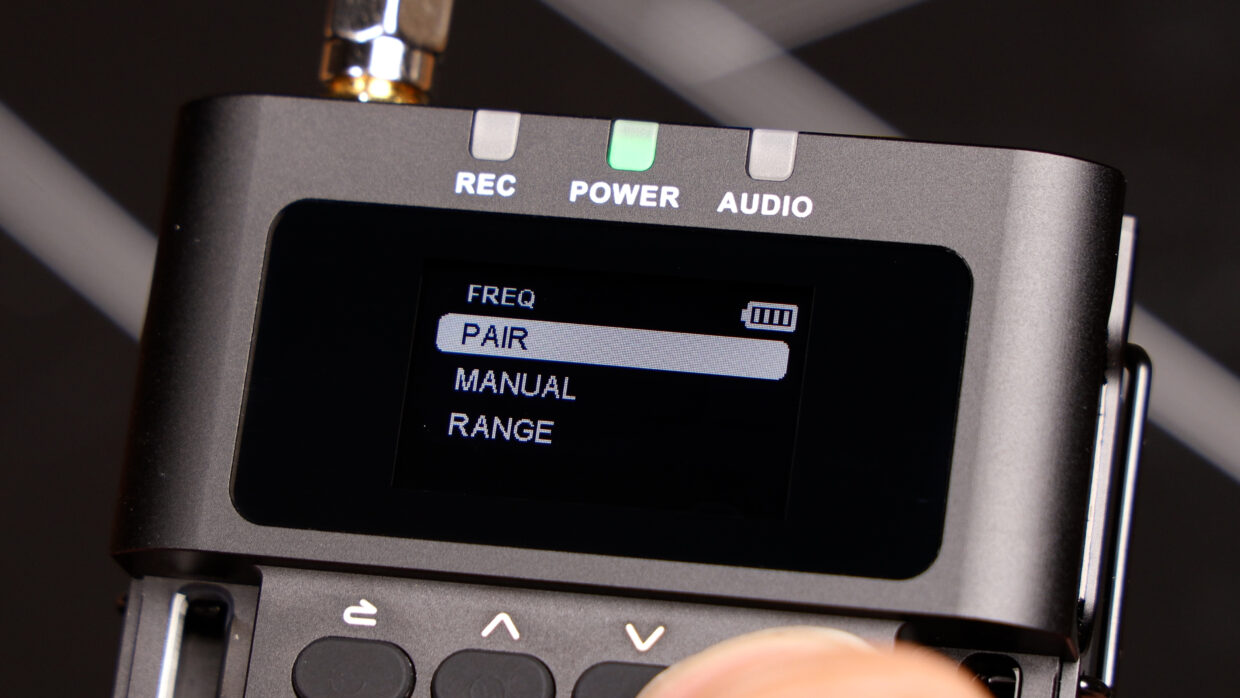
On transmitter 1, press Pair. It will tell you if the pair was successful.
On transmitter 2, repeat this process.
Step #8
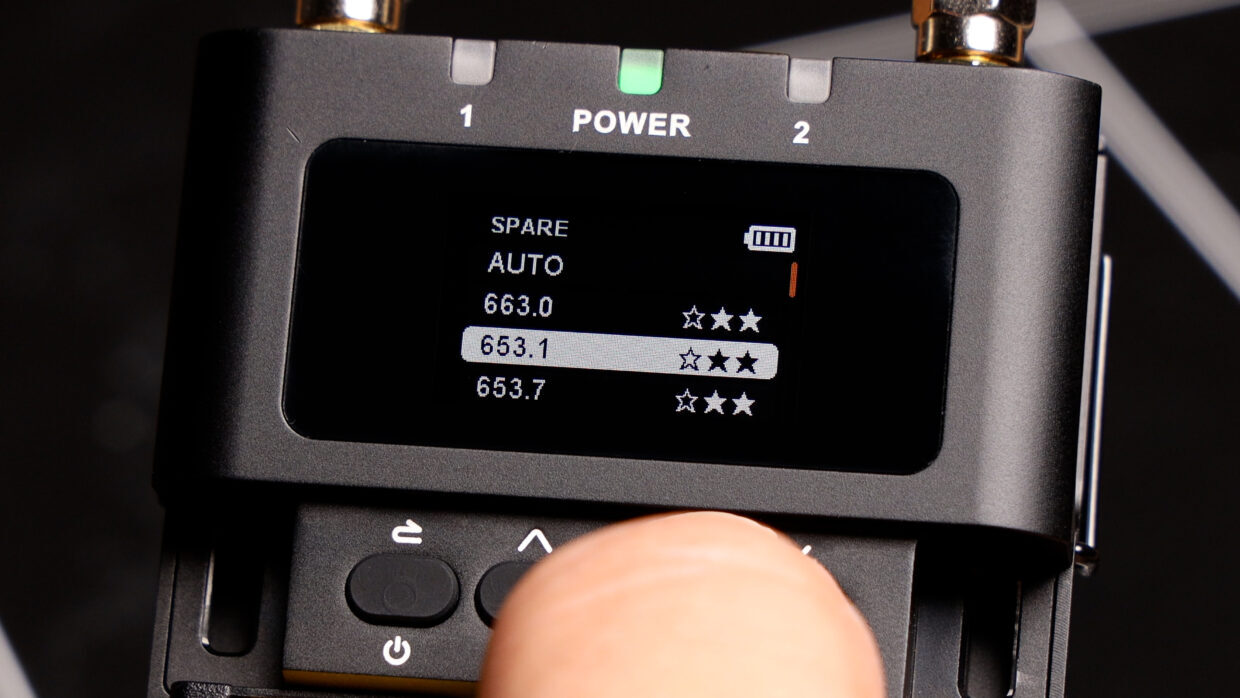
If you notice that range or dropouts are becoming an issue later in the shoot day, you can always change to a spare frequency that the receiver has saved that was also clean.
Step #9
Remember, all of the frequency bands are available to you. If one is giving you trouble, try out another for the best results.
Step #10
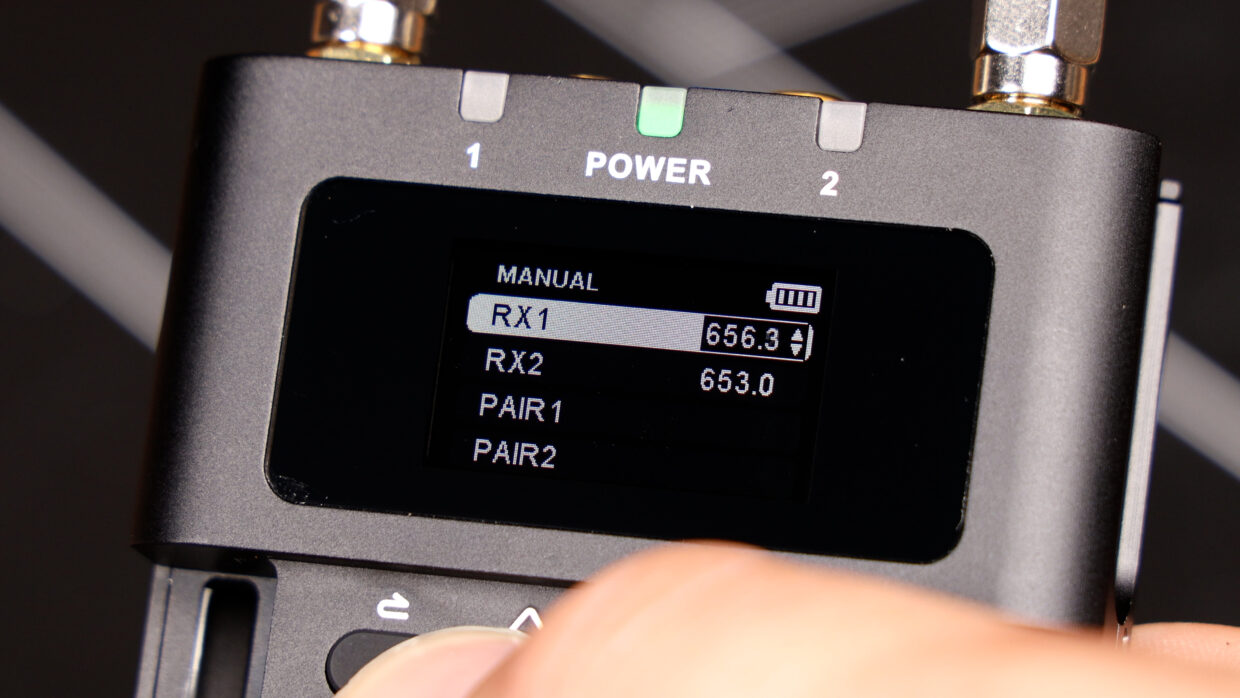
If you’re shooting in a location where certain frequencies must be avoided, you can always manually change the frequency on the receiver.
The transmitter will follow this command.
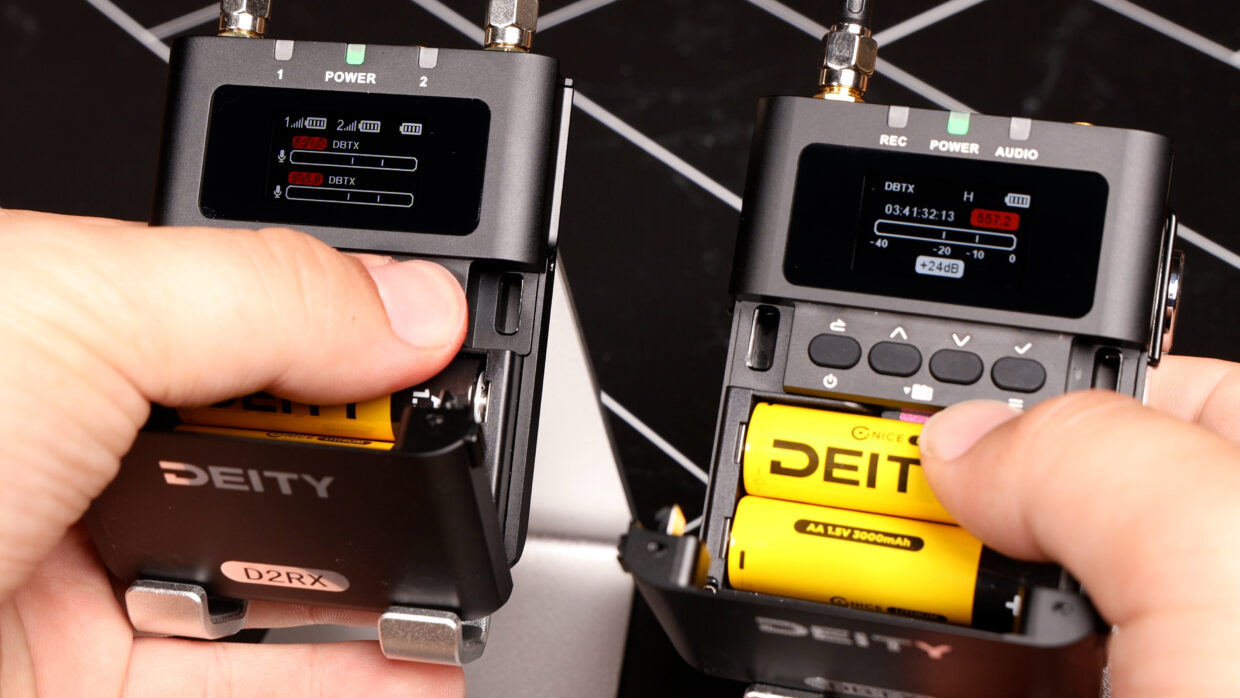
You’re Connected!
With that, you’re ready to jump in and get shooting.
Be sure to come back and check out our other THEOS tutorials!
Related articles
- [THEOS] Getting Started - What’s in the Box & Device Activation
- [THEOS] Frequency Settings & Legal Bands
- [THEOS] How to Set Up Timecode
- [THEOS] Recording Modes
- [THEOS] Gain Staging
- [THEOS] How to Set Up Wireless IFB
- [THEOS] How to Cut Your Antenna
- [Theos RF Filter] Quick Guide
- [Cables] RF Cables Guide