
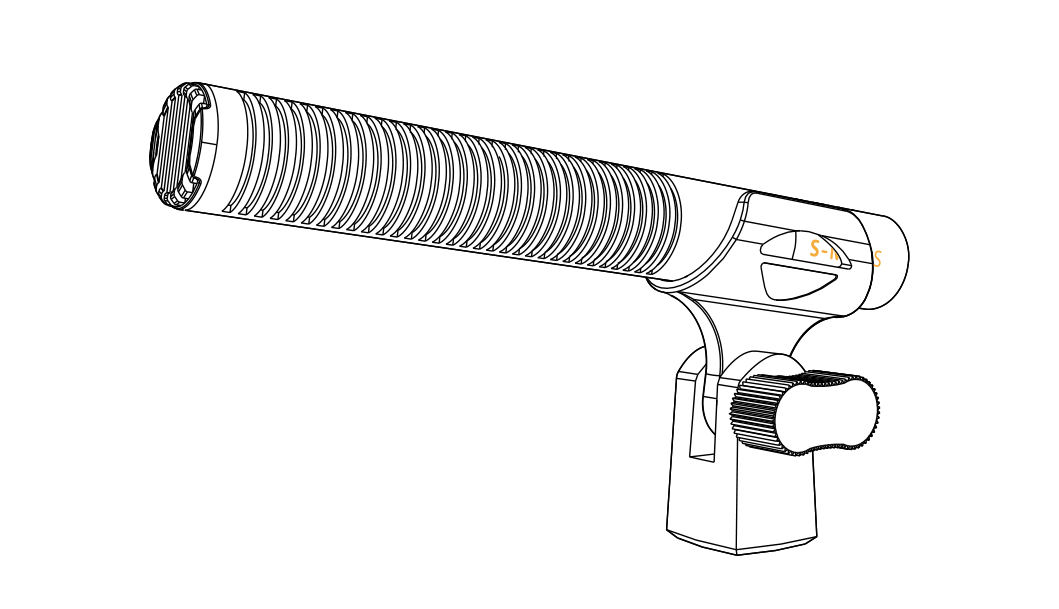
The DEITY S-Mic 3S is a professional short shotgun condenser microphone built for broadcast-quality sound. It combines a super-cardioid pickup, high sensitivity, and low self-noise with a good weather-resistance design and strong resistance to radio-frequency interference, making it well suited to news gathering, wedding videos, film and TV studios, and outdoor recording. This guide covers what comes in the box, the parts of the microphone, and how to set it up and care for it.
What's in the Box
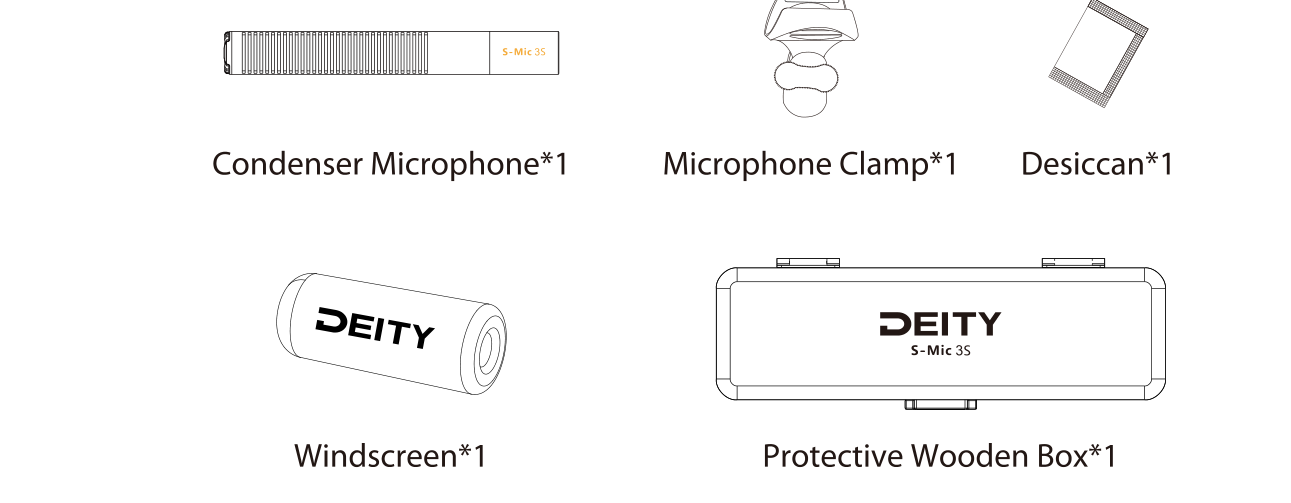
Your S-Mic 3S package includes:
- Condenser Microphone (1 pc)
- Microphone Clamp (1 pc)
- Desiccant (1 pc)
- Windscreen (1 pc)
- Protective Wooden Box (1 pc)
Get to Know Your S-Mic 3S
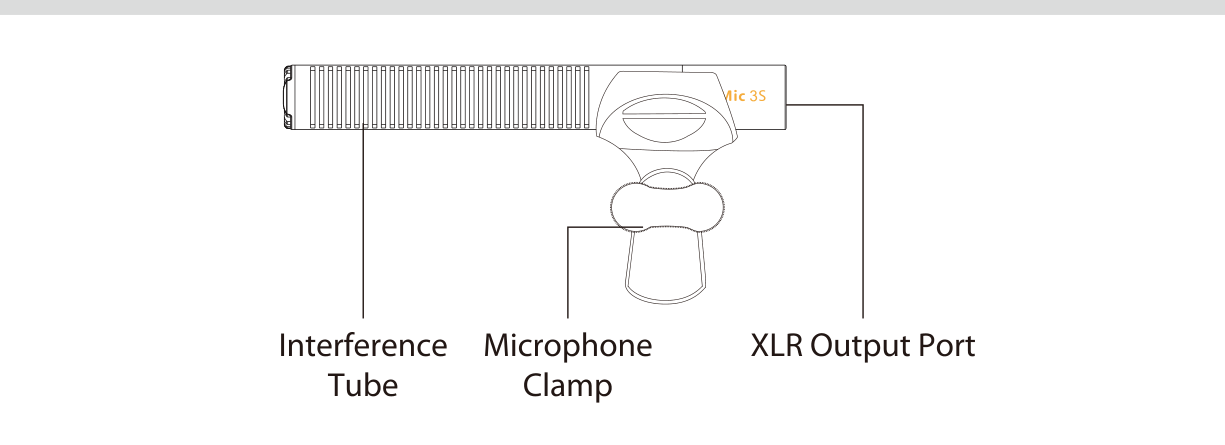
- Interference Tube: the slotted front section that gives the microphone its directional super-cardioid pickup, rejecting sound from the sides and rear so you capture your subject cleanly.
- Microphone Clamp: the included clamp mounts the S-Mic 3S to a boom pole, stand, or on-camera shoe.
- XLR Output Port: a standard 3-pin XLR connector on the rear of the microphone that carries the audio signal to your recorder or mixer.
Setting Up
- Seat the microphone in the Microphone Clamp and mount the clamp to your boom pole, stand, or camera shoe.
- Fit the included Windscreen over the interference tube when recording outdoors or in wind to reduce wind noise.
- Connect a high-quality 3-pin XLR cable from the XLR output port to your recorder or mixer.
- The S-Mic 3S is a condenser microphone and requires phantom power. Enable 24V or 48V phantom powering on your recorder or mixer before recording.
The use of high-quality XLR cables is recommended. Minimising the cable length between the microphone and the recorder input will further improve the signal quality.
Care and Maintenance
The S-Mic 3S has a very good weather-resistance design and usually needs only proper care and maintenance. After any recording session where the microphone may come into contact with moisture or condensation, dry it thoroughly and place it inside the protective case for storage.
- Use only a microfiber and dry cloth to clean the product.
- Keep the microphone stored in a dry, clean, dust-free environment, and keep all liquids away from it.
- The silica gel desiccant inside the case can be reused. If its color changes completely from orange to green, remove it and bake it back to orange (for example, in a microwave oven for about 10 minutes).
- Do not place the microphone where corrosive chemicals are present, as corrosion may cause it to malfunction.
- Do not disassemble the product yourself. If there is a problem, have it checked by an authorized service center or agent.
Specifications at a Glance
- Polar Pattern: Super-Cardioid
- Frequency Range: 50 Hz to 20 kHz
- Sensitivity: -32 ±2 dB re 1V/Pa at 1 kHz
- Powering: 24V or 48V phantom power
- Output: 3-pin XLR
- Dimensions: φ19 x 148 mm, about 44 g
For the full technical breakdown, including the frequency-response and polar-pattern charts, see [S-Mic 3S] Specifications.