
The Tascam DR-10L Pro pocket recorder can accept external timecode so its recordings sync cleanly with camera in post. This guide walks through connecting a Deity timecode generator and enabling timecode on the DR-10L Pro.
Step-By-Step User Guide
Step #1
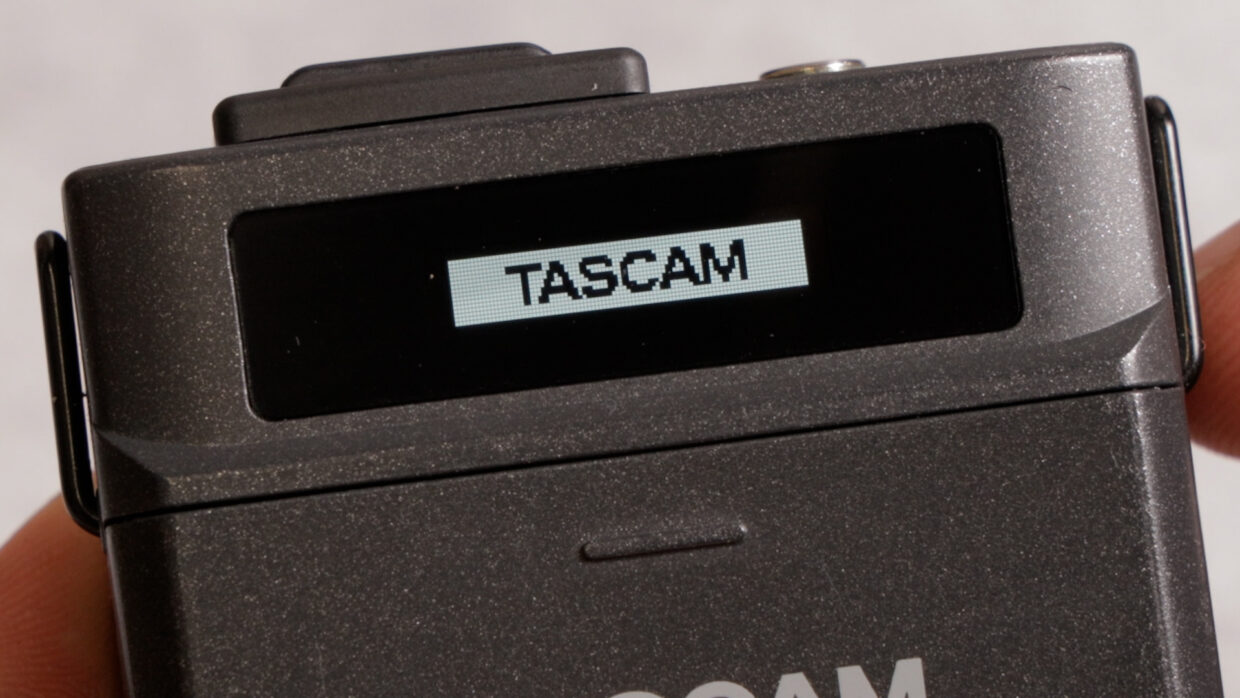
Today I’m gonna show you how to set up timecode on your Tascam DR-10L Pro using the Deity TC-1.
Step #2
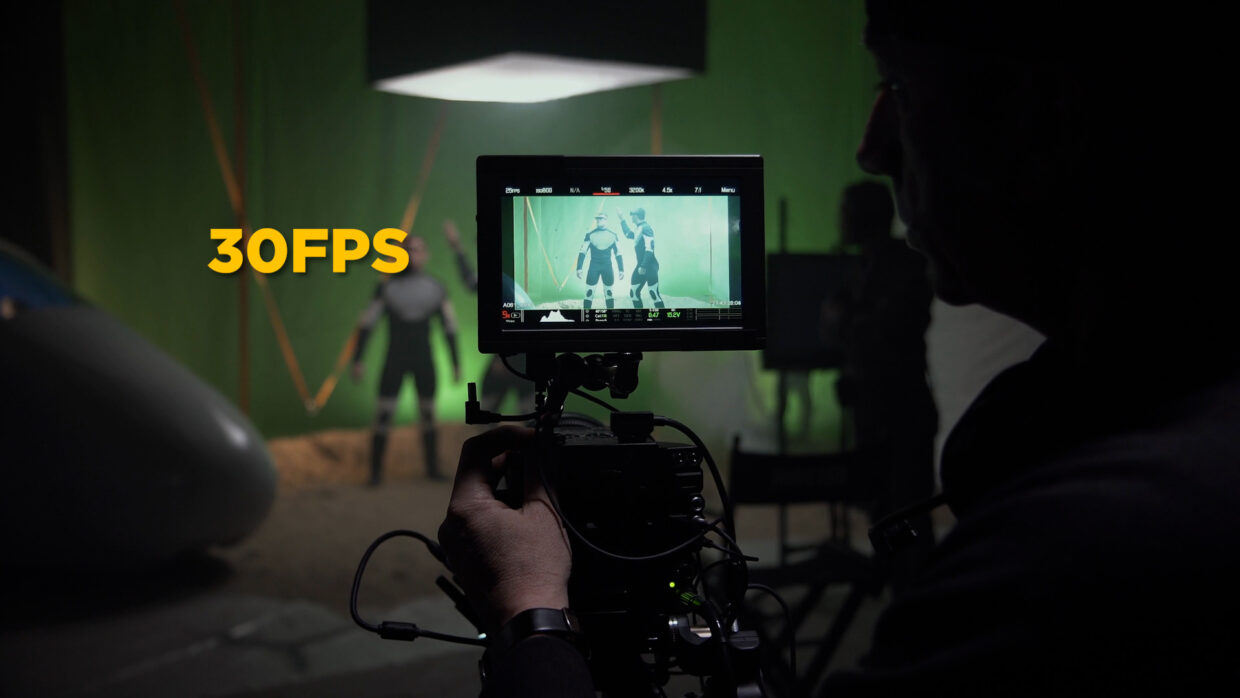
First things first, confirm your framerate with the camera department. In this case, we’re using 30fps.
Step #3
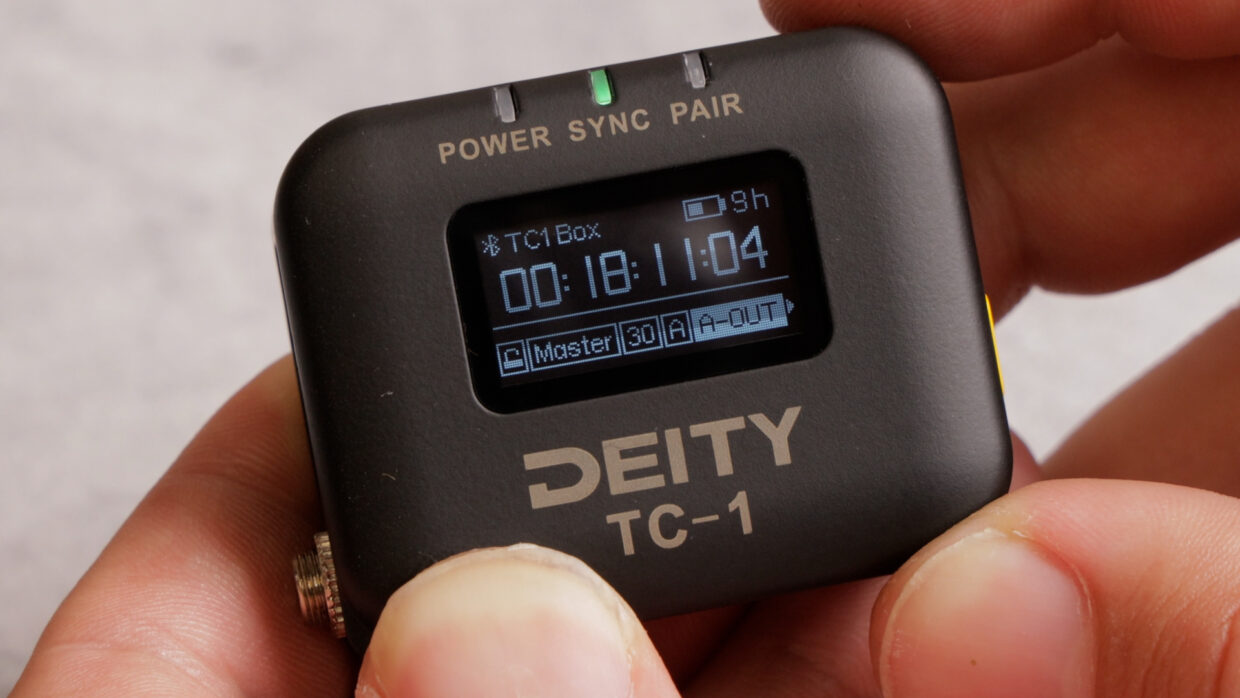
On your TC-1, scroll over to the frame rate section and set it to 30fps. Next, scroll over to the out type section and select “A-Out.”
Step #4
The Tascam only accepts LTC-Audio timecode signals, not metadata timecode, which is why we set it to A-Out and not L-Out.
If you’re curious what the difference is, check out our article here.
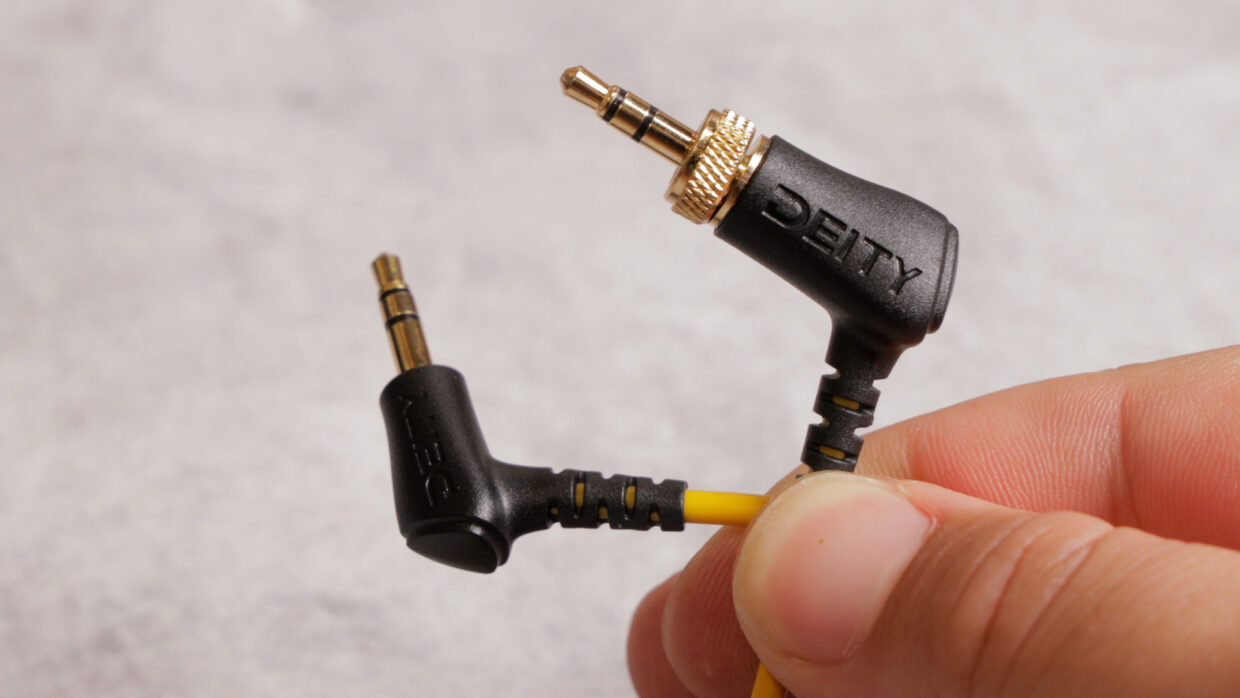
Step #5
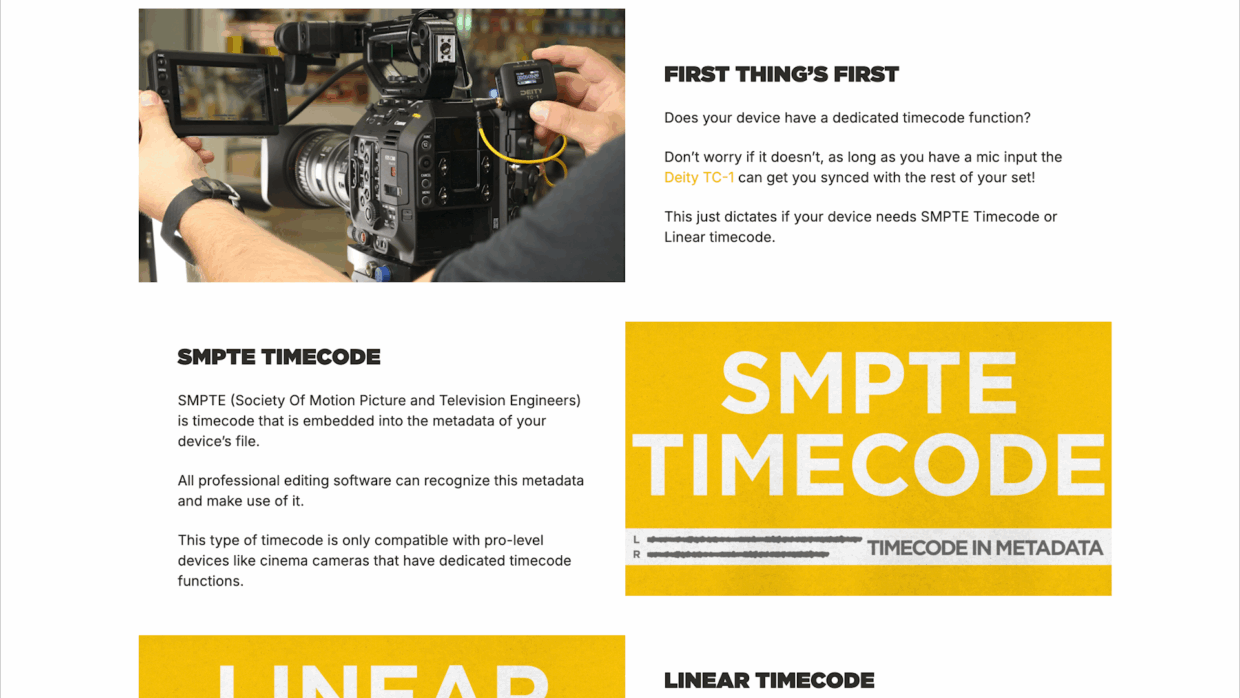
To connect the TC-1 to the DR-10L Pro you’ll need a locking TRS to TRS cable.
Step #6
On the DR-10L Pro, enter the menu, scroll to the bottom, and select LTC Sync.
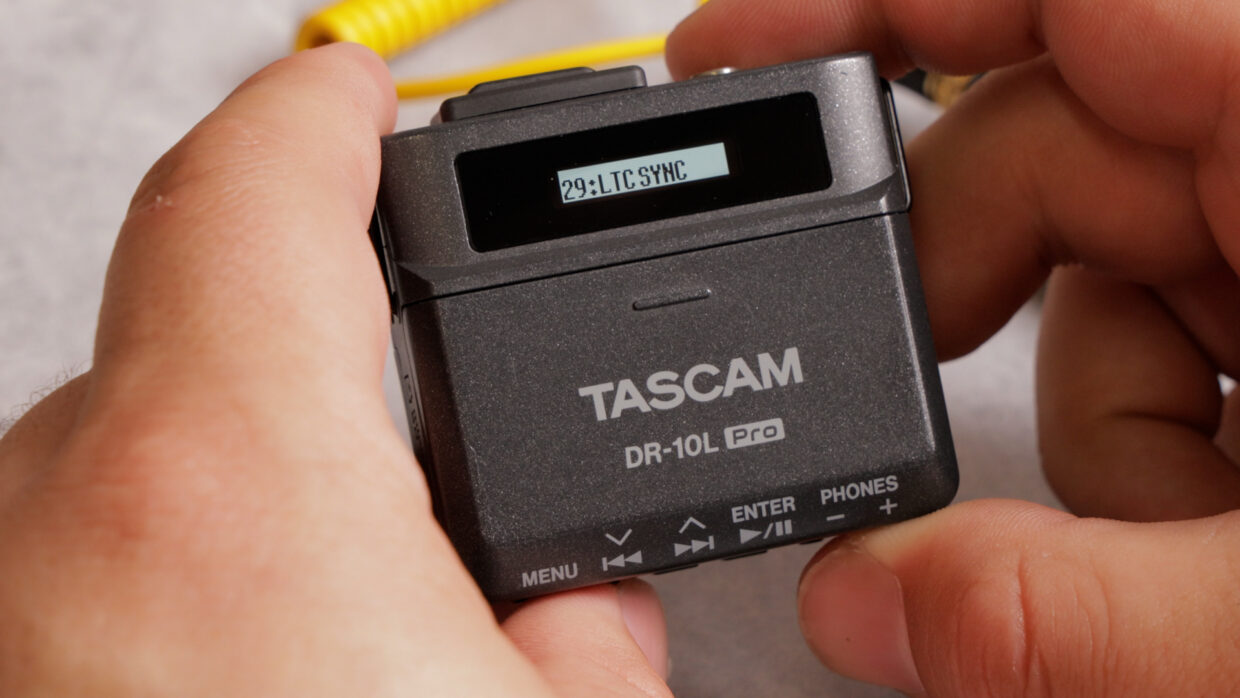
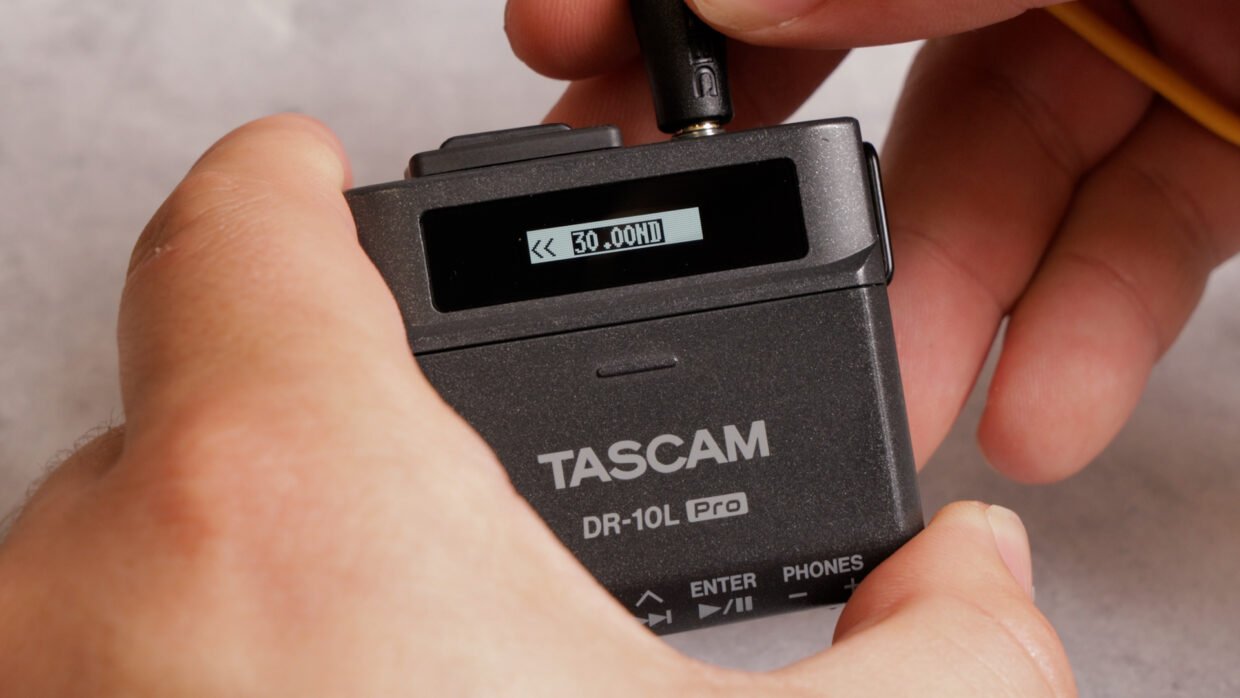
Step #7
Once prompted, connect the TC-1. It will automatically detect the chosen frame rate.
Once you press confirm, the device’s timecode will update and be synced with the rest of your set.
Step #8
From here, you can remove the TC-1, but note that if the DR-10L Pro powers off, you will need to rejam its timecode.
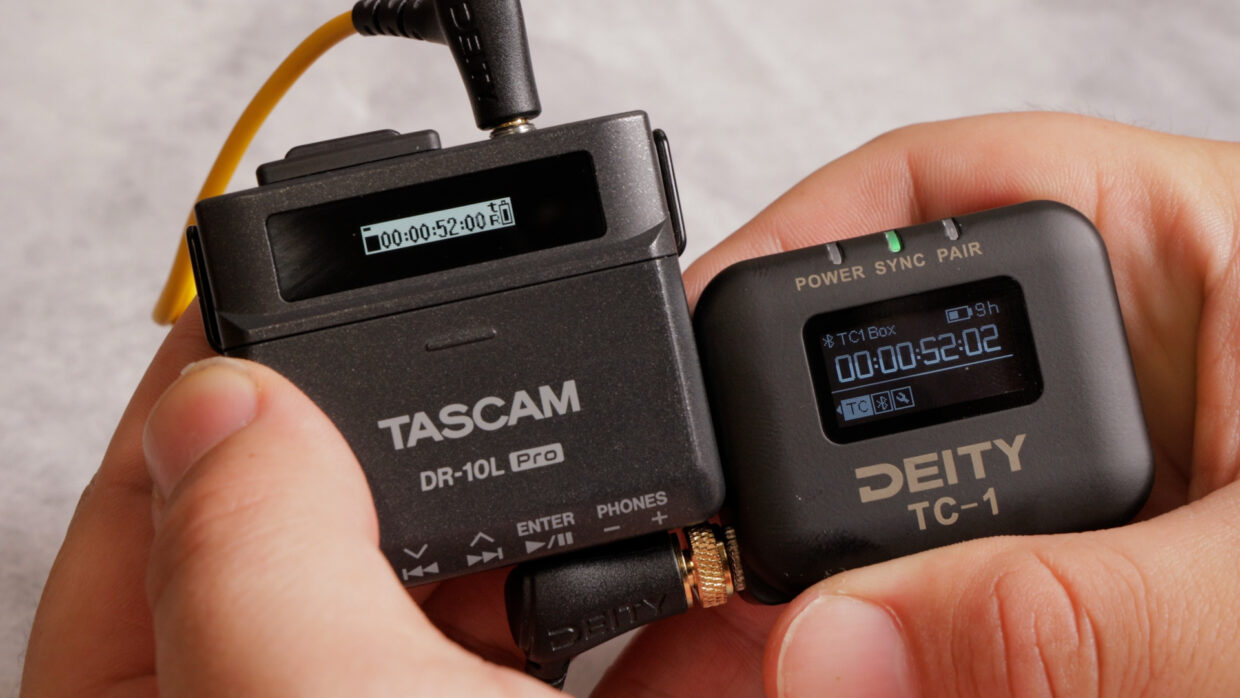
You’re Connected!
Your Tascam DR-10L is now ready.
If you need help syncing your Deity TC-1 to your other Deity TC-1 timecode generators, here is a User Guide!