
Press the Menu / OK Button to open the DXTX menu, then use the Up and Down buttons to move and OK to confirm. This reference explains every menu item, from frequency and gain through to the full system settings.
FREQ
Sets the transmit frequency point. There are two ways to set it:
- PAIR: When the DXTX enters PAIR, put your THEOS receiver into PAIR pairing mode as well, and the two devices link up.
- MANUAL: Use the Up and Down buttons to set the DXTX frequency point by hand.
Note: The available frequency range varies depending on the legal restrictions of each country.
GAIN
Adjusts the microphone input gain, which can be increased by up to 42dB. When using the 5-pin stereo input, press and hold the OK button on the main screen to switch which channel's gain you are setting.
TX MODE
Switches the driving voltage supplied to the microphone. Choose the option that matches your mic.
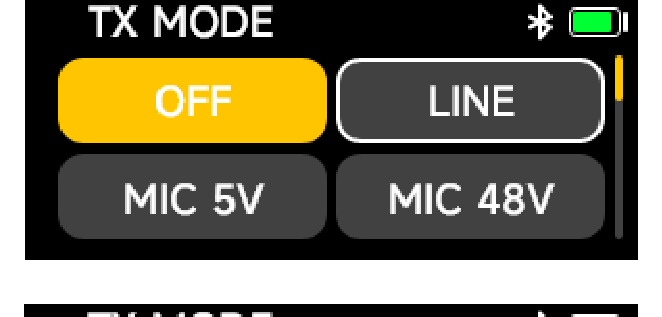
| OFF | No power supplied to the microphone. |
| LINE | Line-level input. |
| MIC 5V | 5V power for mics that need plug-in power. |
| MIC 48V | 48V phantom power for condenser mics. |
Note: Selecting MIC 48V prompts a restart ("48V change, Restart now?"). Confirm YES to apply it.
TC SYNC
Sets the timecode and its operating mode. This is the same set of controls as the timecode interface. See [DXTX] Screen Interface Guide for the full breakdown of MODE, frame rate, JAM, GROUP, and SET.
REC MODE
Sets the internal recording parameters. You can choose the bit rate of the memory-card recording: 24-bit or 32-bit float. The sample rate is fixed at 48kHz (FS:48).
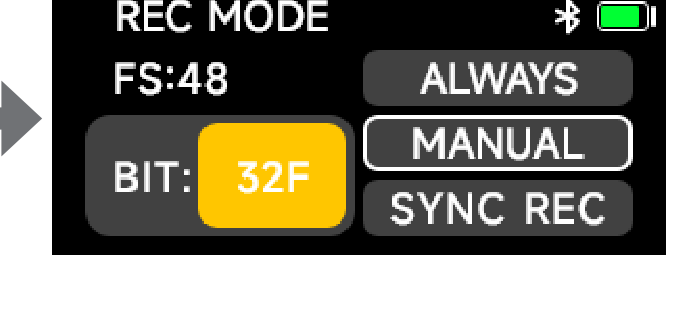
Note: 32-bit float is not supported under the 5-pin connector.
You can also select the default recording status:
| ALWAYS | Starts recording automatically after power-on, and stops and saves the file automatically at power-off. |
| MANUAL | You switch recording on and off by hand. This is the default status. |
| SYNC REC | Starts recording automatically after a manual recording plus timecode synchronization. When SYNC REC is off, recording does not start automatically after the timecode syncs. |
RF POWER
Chooses the RF transmission power. Select the power that matches the requirements of your legal frequency band.
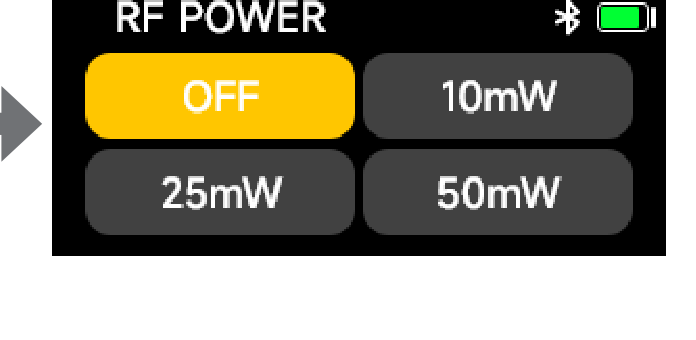
Options are OFF, 10mW, 25mW, and 50mW (higher outputs up to 100mW may be available depending on regional regulations).
LOW CUT
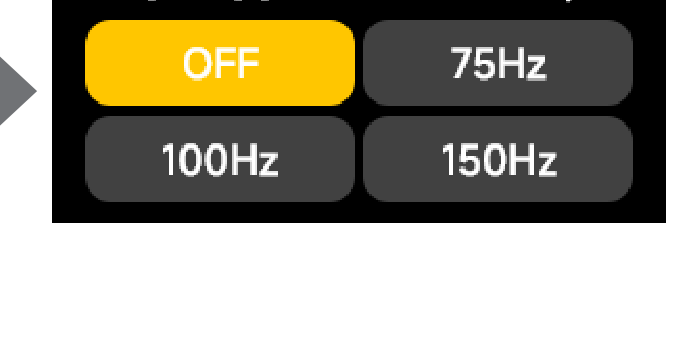
Sets a high-pass (low cut) filter to reduce low-frequency rumble. There are four options: OFF, 75Hz, 100Hz, and 150Hz.
LIMITER
The DXTX has a built-in limiter that helps prevent clipping on sudden loud peaks. The limiter is enabled by default and cannot be turned off manually.
DID
Changes the device name. Select each character with the Up and Down buttons, then press OK to save or press Back to restore the previous name.
FILE
Browses the recorded files on the memory card. Press the Up and Down buttons to select a file (for example DXTX-001, DXTX-002).
LED
Turns the device's LED indicators on or off.
BT
Turns Bluetooth on or off (on by default). Select RESET and confirm YES to reset Bluetooth; the "SUCCESS" message means the reset is complete. The screen also shows the device's MAC address, the unique Bluetooth identifier that distinguishes devices when connecting from a phone.
BATTERY
Choose the battery type you have fitted so the DXTX estimates remaining battery life more accurately. There are four options:
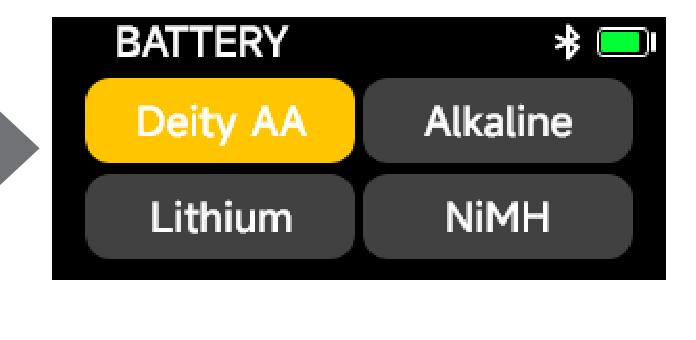
| Deity AA | DEITY lithium battery. |
| Alkaline | A traditional alkaline battery. |
| Lithium | 1.5V stabilized lithium battery. |
| NiMH | 1.2V Ni-MH rechargeable battery. |
SYSTEM
The SYSTEM menu holds the display, storage, transfer, and maintenance settings.
SCREEN
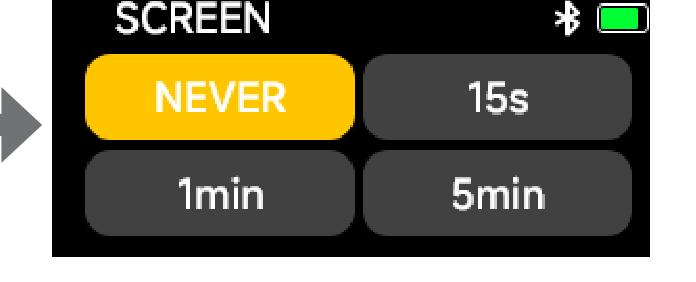
Sets how long the screen stays lit when idle. There are four options: Never, 15s, 1min, and 5min (the system defaults to Never). The DXTX keeps your choice after the first use.
BRIGHTNESS
Adjusts screen brightness across five levels. The default is the brightest, level 5. The DXTX keeps your choice.
SD CARD
Shows the storage space used on the memory card. Select FORMAT and confirm YES to format the card; the "SUCCESS" message means formatting is complete. Formatting a card in the device gives higher recording stability.
READER
Puts the DXTX into card-reader mode so you can connect it to a computer with a USB-C cable and transfer the recorded files.
HOTKEY
Chooses which main-screen shortcut keys are active.
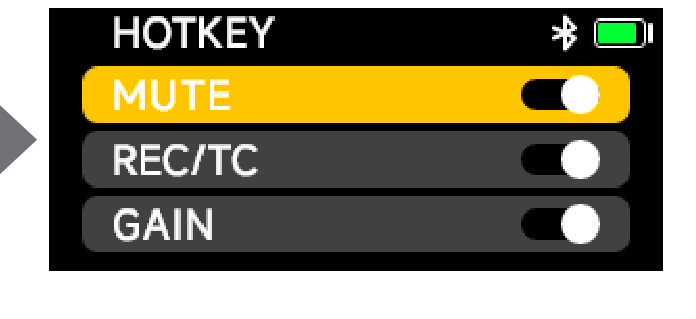
| MUTE | Turn on to mute by short-pressing the Power button on the main screen. |
| REC / TC | Turn on to open the recording or timecode interface by long-pressing the Up or Down button. When off, the shortcut is unavailable. |
| GAIN | Turn on to quickly adjust the microphone gain level. |
SYS RESET
Resets the device system settings (this only resets system settings, not the frequency band data). Confirm YES to reset; the "SUCCESS" message means the settings are reset.
UPGRADE
Updates the firmware from a USB stick or SD card (exFAT or FAT32 U-Disks are supported). Load the latest firmware from the official website into the root directory of the U-Disk or SD card. You can connect a U-Disk to the USB-C port with a "USB-C to USB-A firmware upgrade adapter." After the update, the firmware version shows the latest number, which you can check under FIRMWARE. If no card or U-Disk is inserted, or the device cannot read the upgrade file, "NO DISK" is shown; check that the card or U-Disk is inserted correctly and the upgrade file is complete and in the right location.
DATE / TIME
Sets the device date and time. Press OK to enter each field, adjust with the Up and Down buttons, then press OK to save. Under DATE FORMAT you can pick DD/MM/YY, MM/DD/YY, or YY/MM/DD.
LANGUAGE
Sets the interface language. The DXTX supports Chinese or English. Select with the Up and Down buttons and press OK to save.