
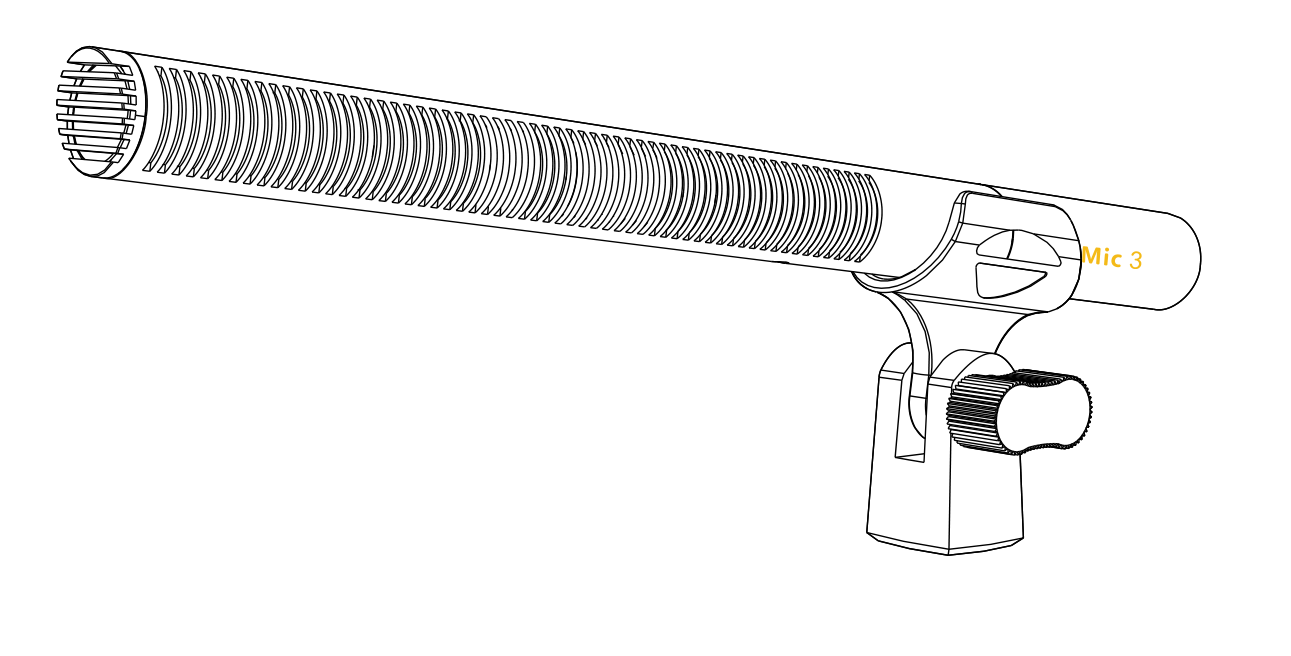
The Deity S-Mic 3 is a professional shotgun condenser microphone built for broadcast-quality sound. It combines high sensitivity, low self-noise, and strong resistance to radio-frequency interference in a weather-resistant body, making it a reliable choice for news gathering, wedding videos, film and TV studio work, and outdoor recording. This guide covers what comes in the box, the parts of the microphone, how to power it, how to mount it, and how to keep it in top condition.
What's in the Box
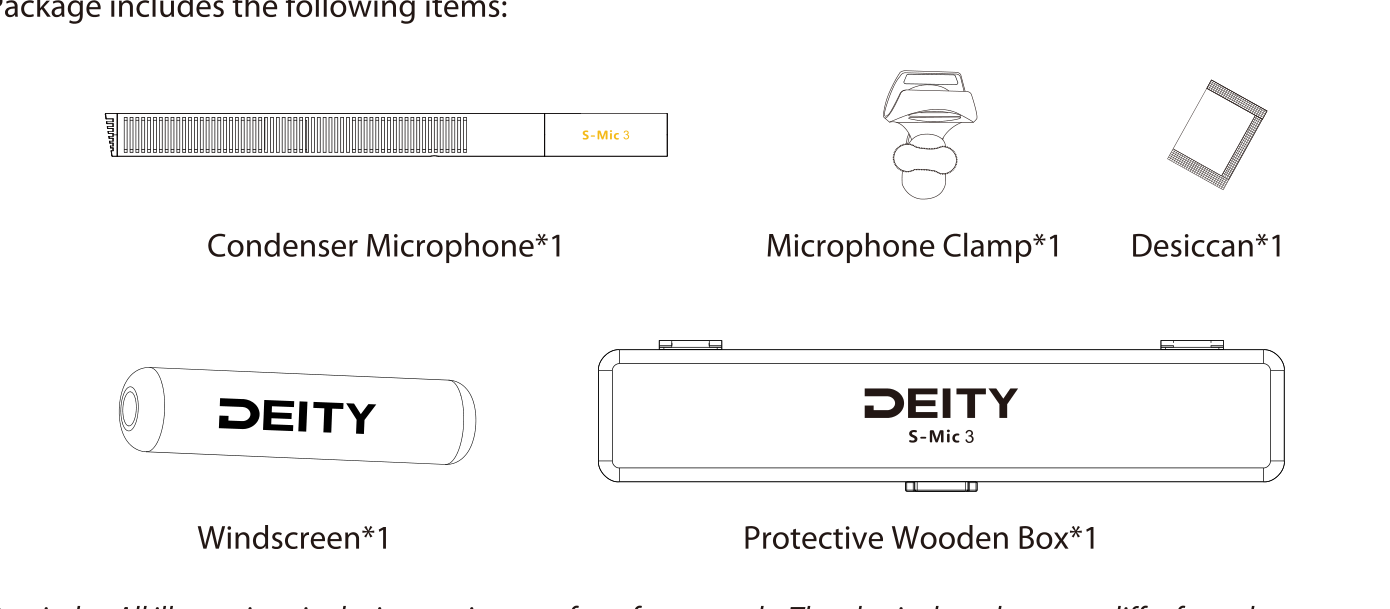
Your S-Mic 3 package includes:
- Condenser Microphone (1 pc)
- Microphone Clamp (1 pc)
- Desiccant (1 pc)
- Windscreen (1 pc)
- Protective Wooden Box (1 pc)
Note: All illustrations are for reference only. The physical product may differ from the diagrams due to continuous updates and upgrades.
Get to Know Your S-Mic 3
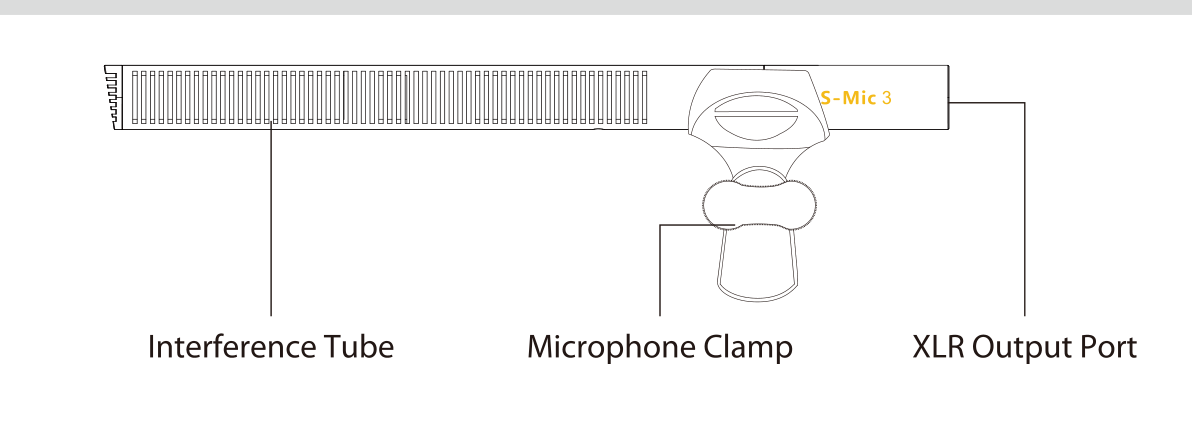
- Interference Tube: the slotted front section that gives the S-Mic 3 its super-cardioid, highly directional pickup, rejecting sound from the sides and rear.
- Microphone Clamp: the removable clamp that holds the microphone and mounts it to a boom pole, stand, or shock mount.
- XLR Output Port: the 3-pin XLR connector at the rear that carries balanced audio to your recorder or mixer.
Powering the S-Mic 3 (Phantom Power)
The S-Mic 3 is a condenser microphone, so it requires phantom power to operate. Connect it to a recorder, mixer, or preamp that supplies 24V or 48V phantom power over the XLR cable.
- Connect the microphone to your device with a 3-pin XLR cable before enabling phantom power.
- Turn on 24V or 48V phantom power on your recorder or mixer input. Current consumption is under 4.5mA.
- The use of high-quality XLR cables is recommended. Minimising the cable length between the microphone and the recorder input will further improve signal quality.
Mounting the Microphone
Seat the microphone in the supplied Microphone Clamp and tighten the knob to hold it securely. The clamp can be attached to a boom pole, microphone stand, or shock mount. For handheld and boom work, slide the included Windscreen over the front of the interference tube to reduce wind and handling noise during outdoor recording.
Care and Weather Resistance
The S-Mic 3 has a very good weather-resistance design and usually needs only proper care and maintenance. After any recording session where the microphone may come into contact with moisture or condensation, dry it thoroughly and place it inside the protective case.
- Use only a microfiber and dry cloth to clean the product.
- Keep all liquids away from the microphone. Liquids entering the product can short-circuit the electronics or damage the mechanics.
- Store the microphone in a dry, clean, dust-free environment.
- The silica gel desiccant inside the case can be reused. When it turns completely from orange to green, remove it and bake it back to orange (for example, in a microwave oven for about 10 minutes).
- Do not disassemble the product yourself. Have it checked by an authorized service center or agent if you run into problems.