
The DJI Osmo Pocket 3 can record embedded timecode so its footage syncs with your other cameras and audio recorders. This guide covers connecting a Deity timecode generator to the Pocket 3 and enabling timecode in its settings.
Step-By-Step User Guide
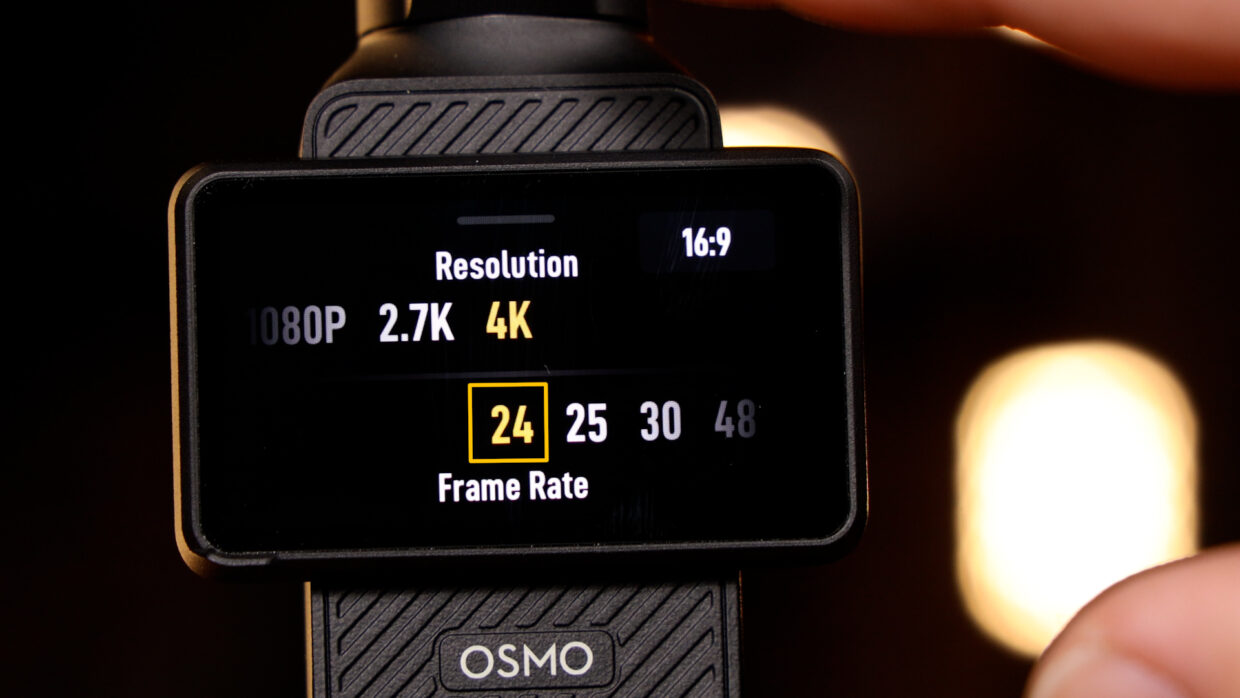
Step #1
First things first, confirm your frame rate, in this case, I’m using 23.98.
Step #2
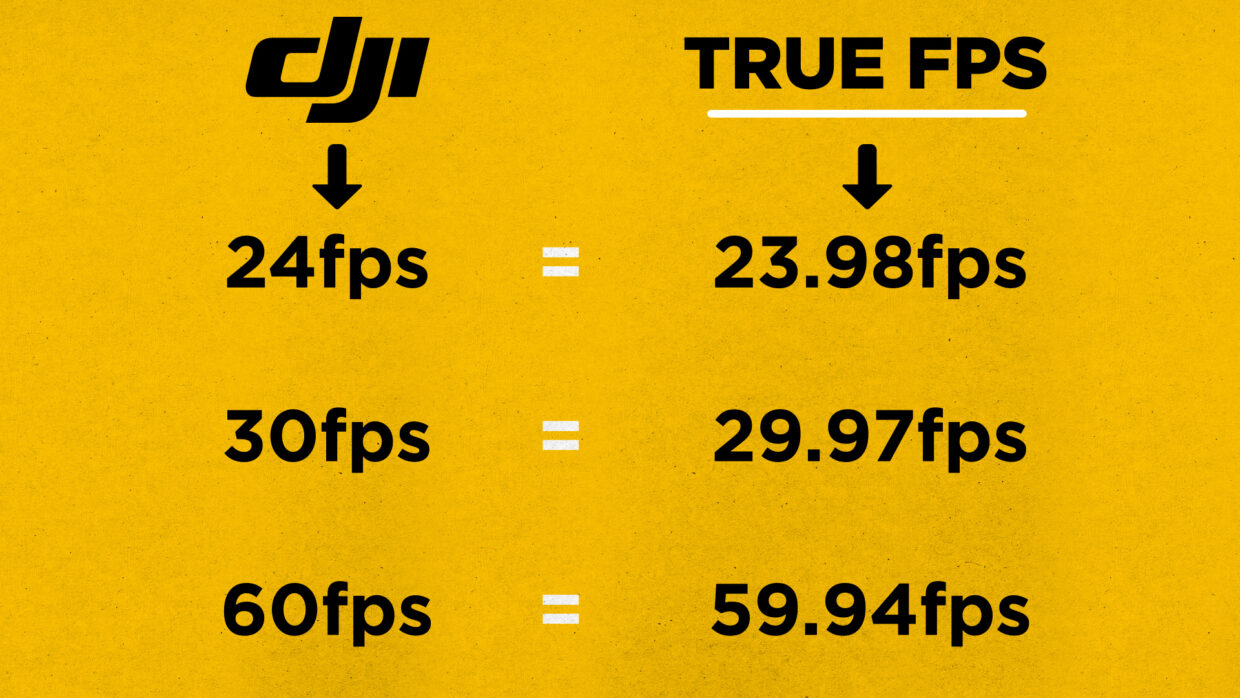
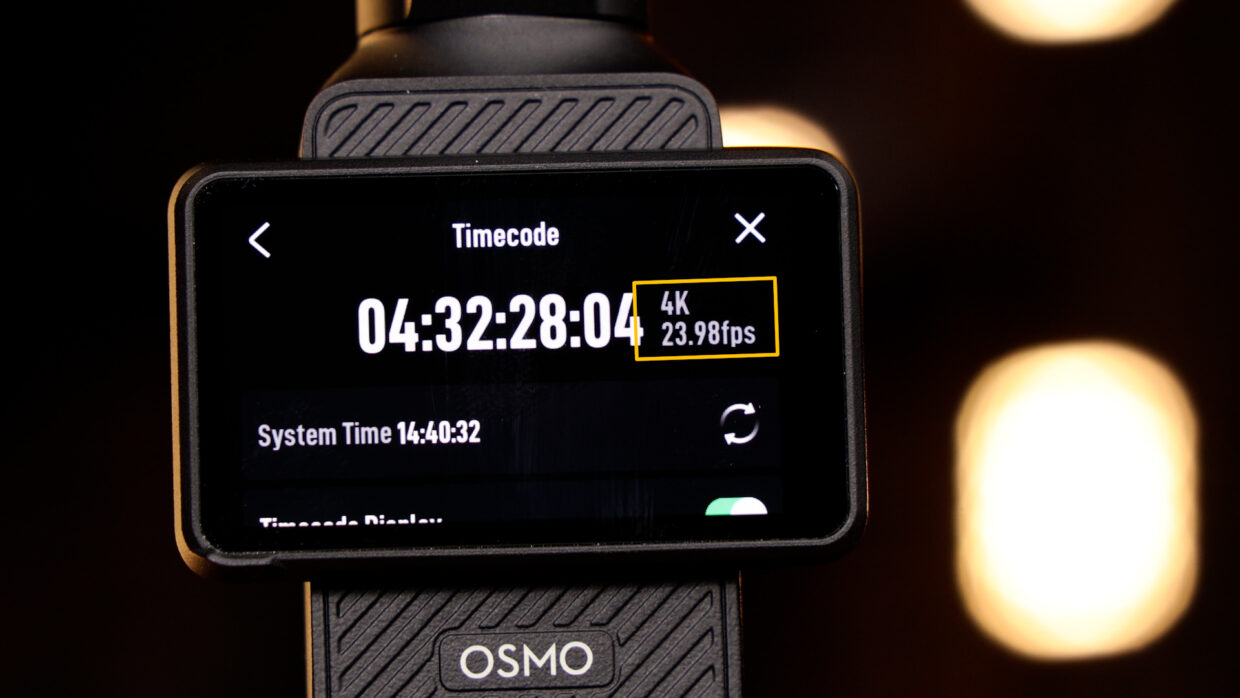
Note that the frame rate in the menu is not the true frame rate the device captures.
Here is a quick conversion chart to help you out.
Step #3
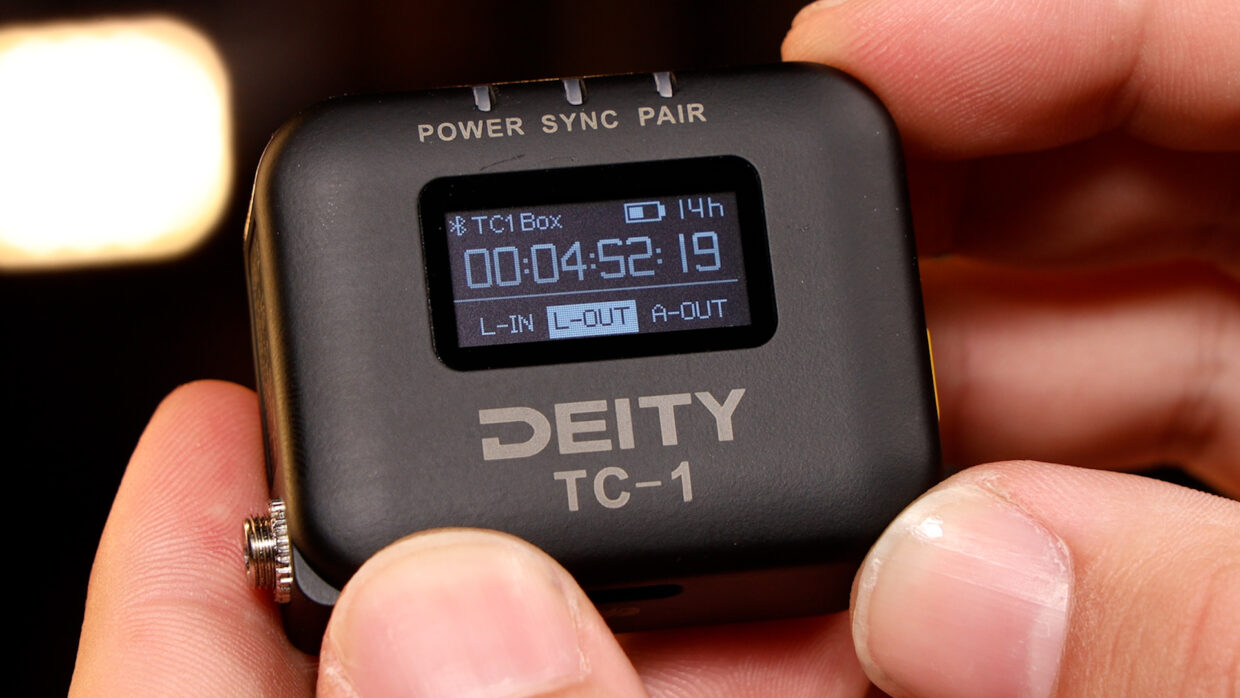
On the TC-1, I have my mode set to auto, so it’ll follow my master unit which is a TC-SL1.
Now, scroll over to the frame rate section and match it to the camera.
Next, scroll over to the out type section and select “L-Out.”
Step #4
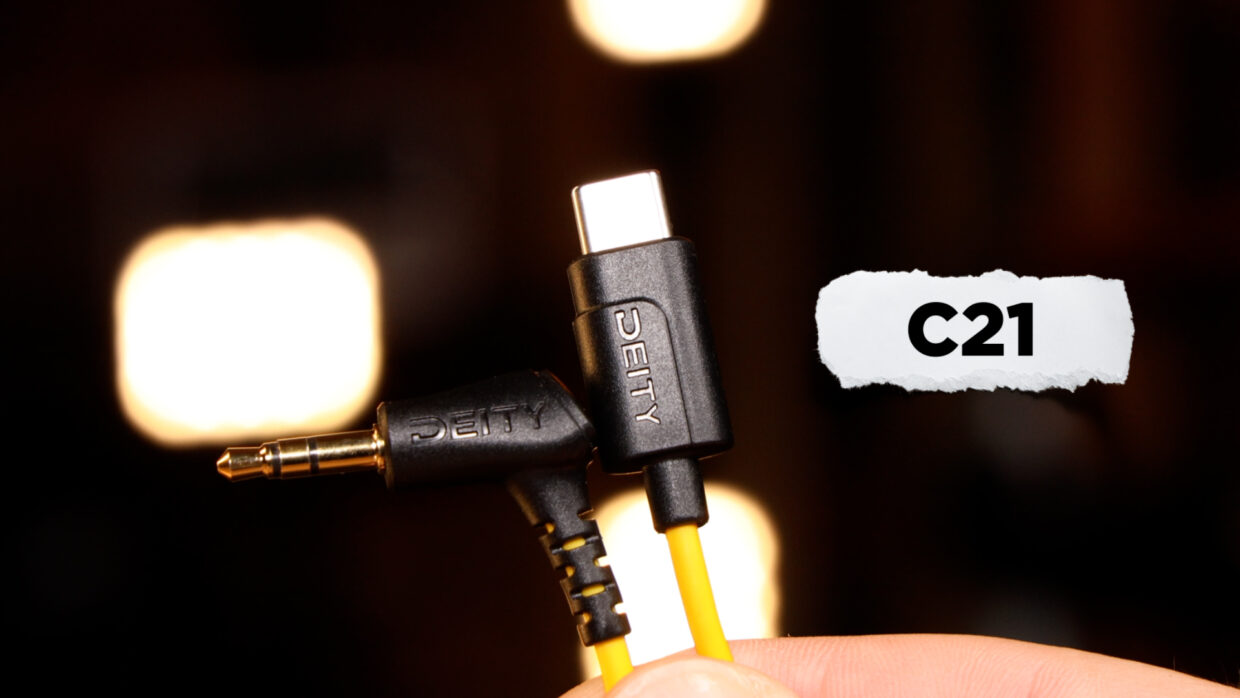
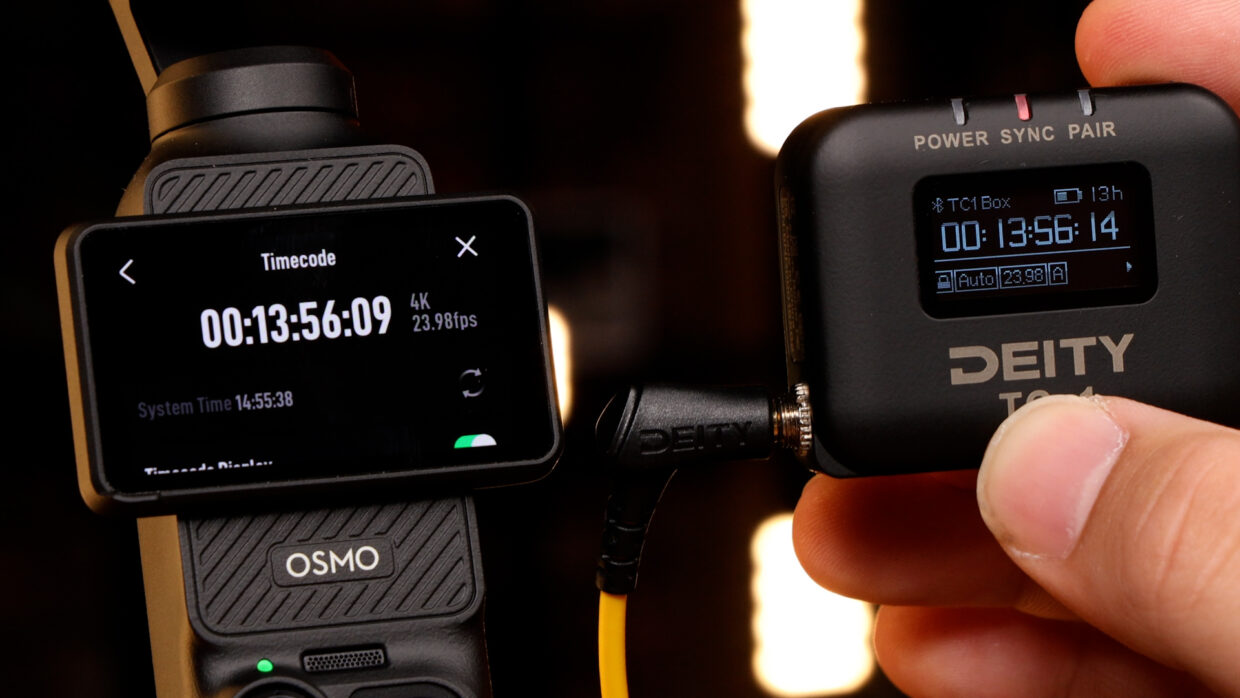
To connect the TC-1 to your Pocket 3, you will need a Deity C21 cable.
Step #5
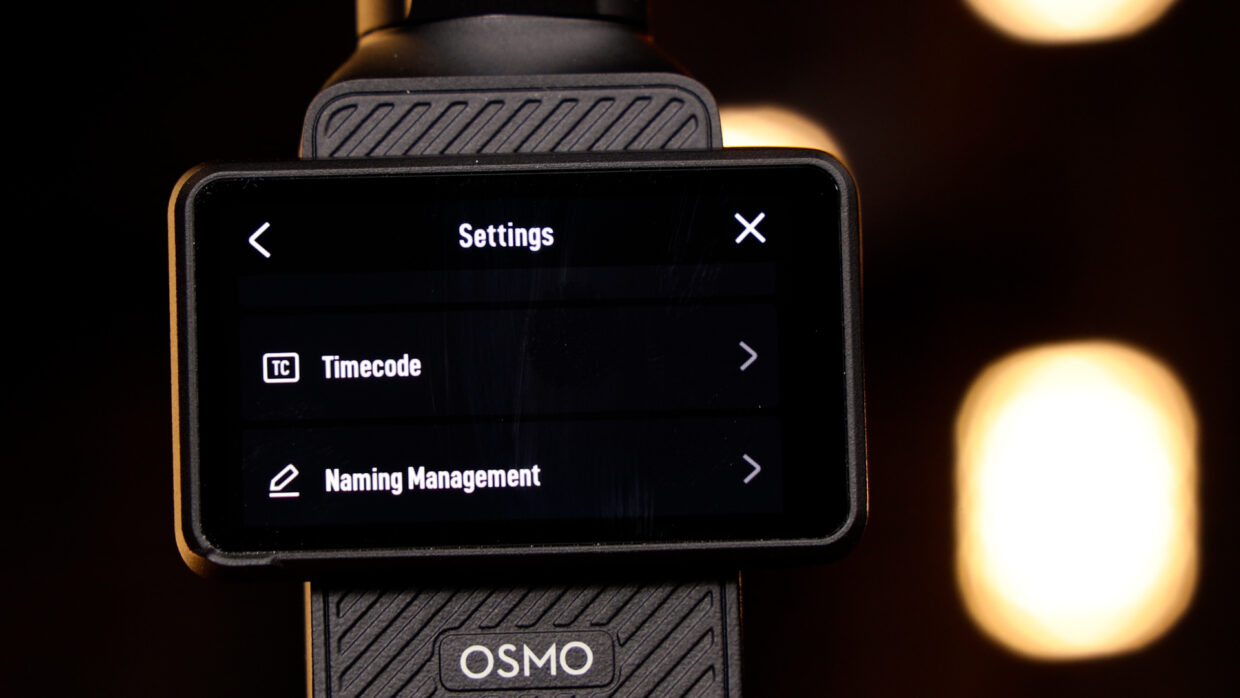
Before plugging in your TC-1, swipe down on the home screen of the pocket and select the settings menu.
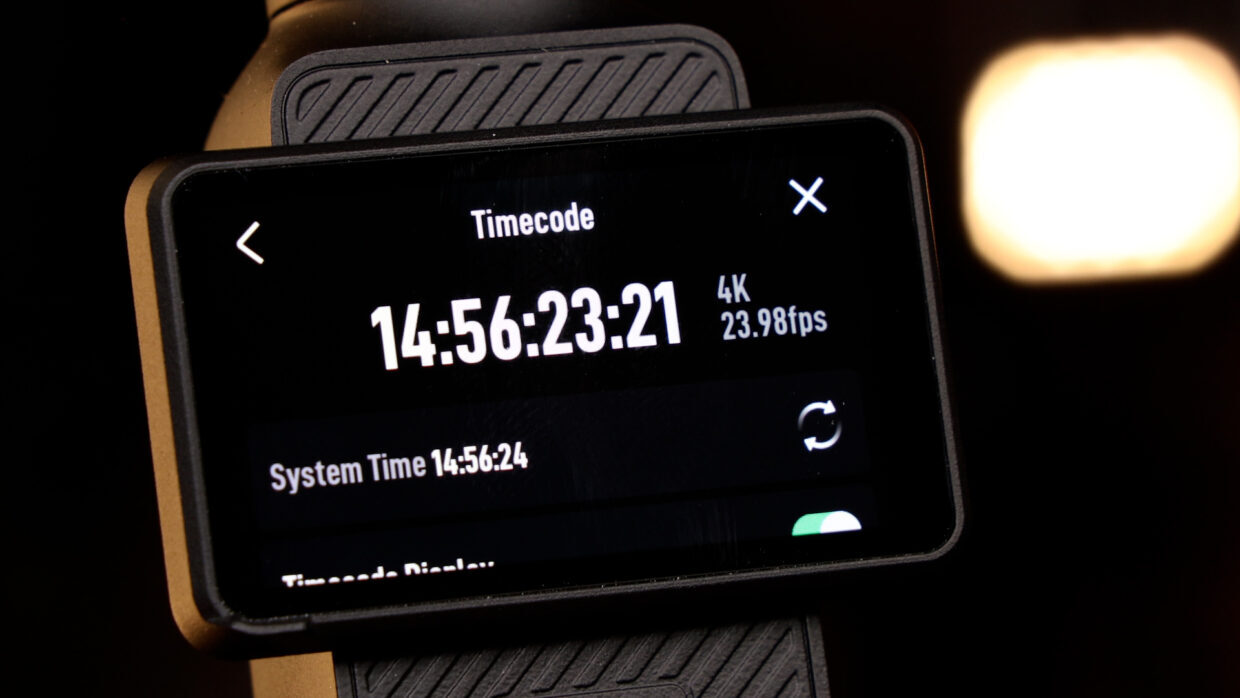
Scroll down and select the timecode menu.
Step #6
Here you can see the true frame rate your device is capturing in the top right.
Step #7
Now, connect the TC-1 to update the Pocket 3’s internal clock.
Remove the TC-1 for scratch audio or to add an external microphone. Keep the TC-1 powered on for later use though.
The Osmo is an exception, Keep THE TC-1 connected on other devices.
Couple Notes
The internal clock of the Pocket 3 will lose sync after a few hours so repeat the jamming process every so often.
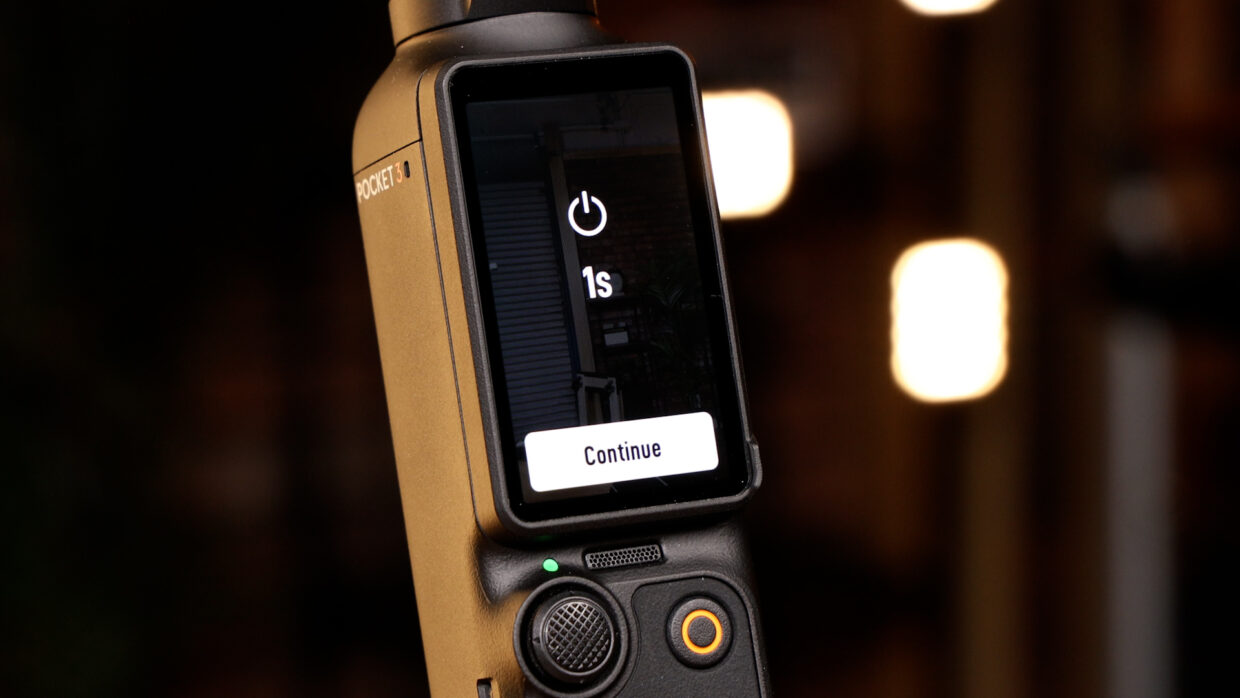
Luckily, you can power down the camera for a very short amount of time without losing timecode sync.
You’re Connected!
Your DJI Osmo Pocket 3 is ready to be synced with the rest of your set!
If you need help syncing your Deity TC-1 to your other Deity TC-1 timecode generators, here is a User Guide!