
The Canon EOS R has no timecode input jack, so timecode is embedded on the audio track using a Deity TC-SL1. This guide explains how to route sync-generated timecode into the EOS R and keep every clip aligned in post.
Step-By-Step User Guide
Step #1
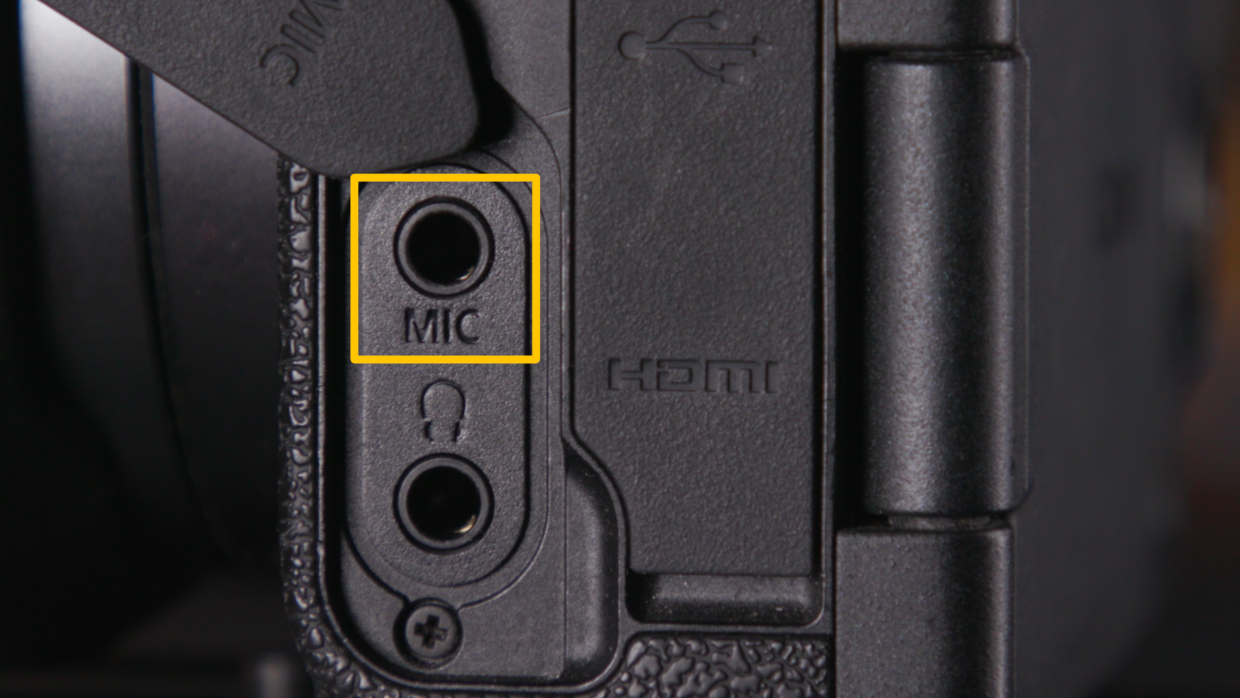
First things first, grab a 3.5 to 3.5 TRS cable. Next, locate the mic input on the left side of the camera and plug it in.
Step #2
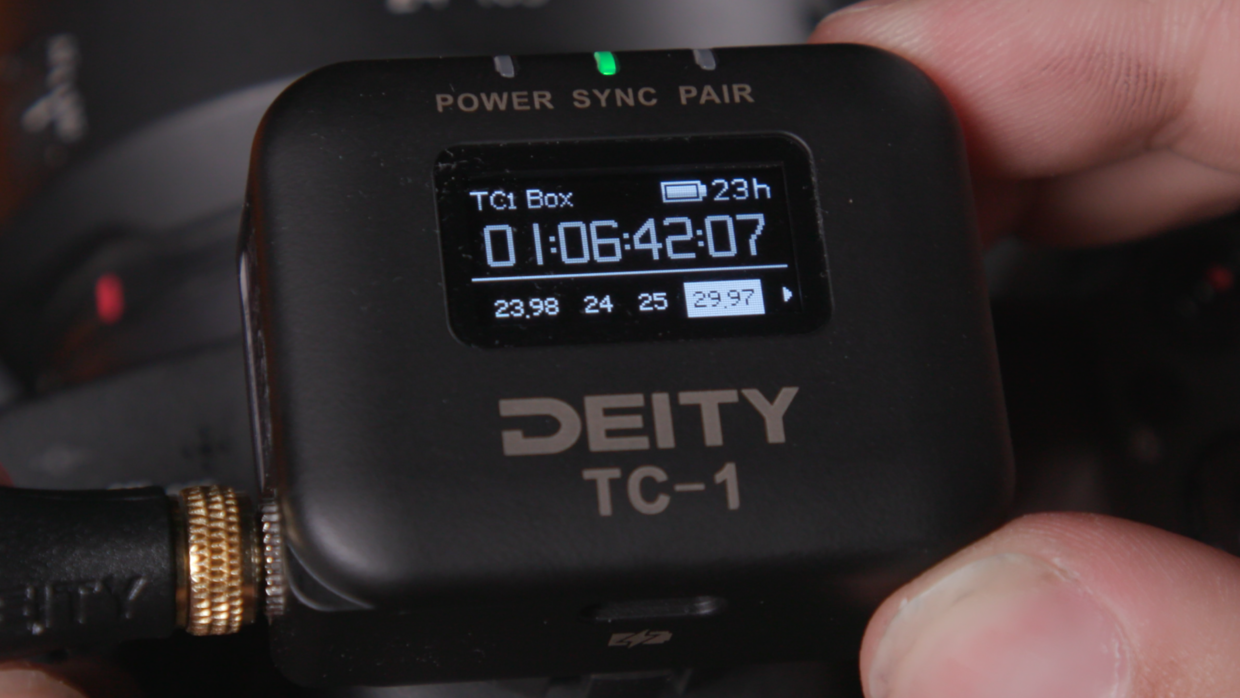
Really quickly, confirm your frame rate, in this case I’m using “29.97.“
On your TC-1, scroll over to the frame rate section and match it to the camera.
Step #3
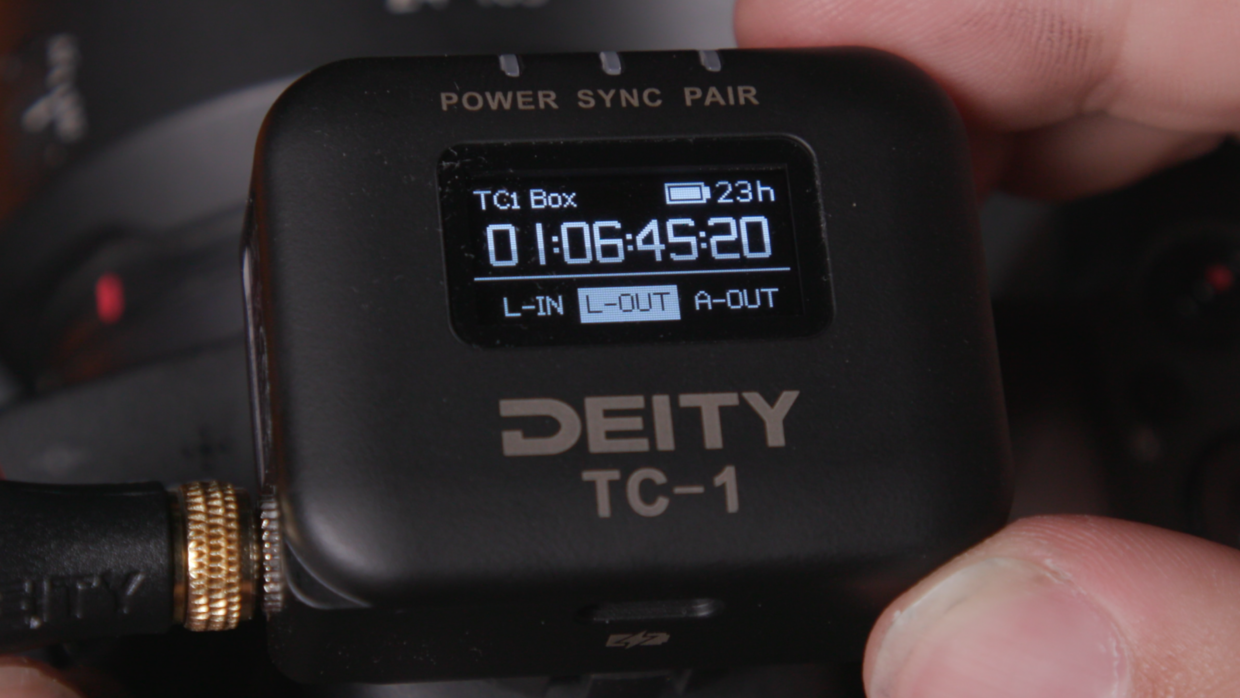
Next, scroll over to the out type section and select “L-Out.”
Step #4
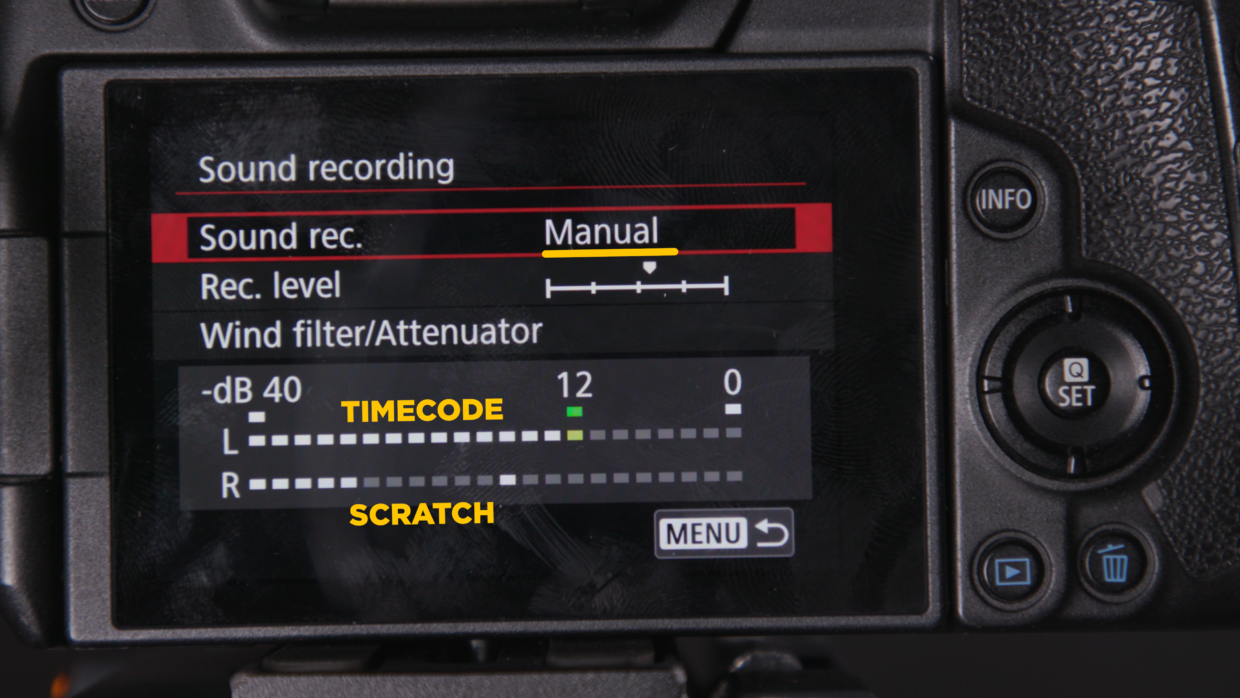
Inside the camera’s audio menu, make sure your sound recording is set to “Manual.”
Now you can see that your timecode is coming in on the left channel, while the TC-1 scratch audio is on the right.
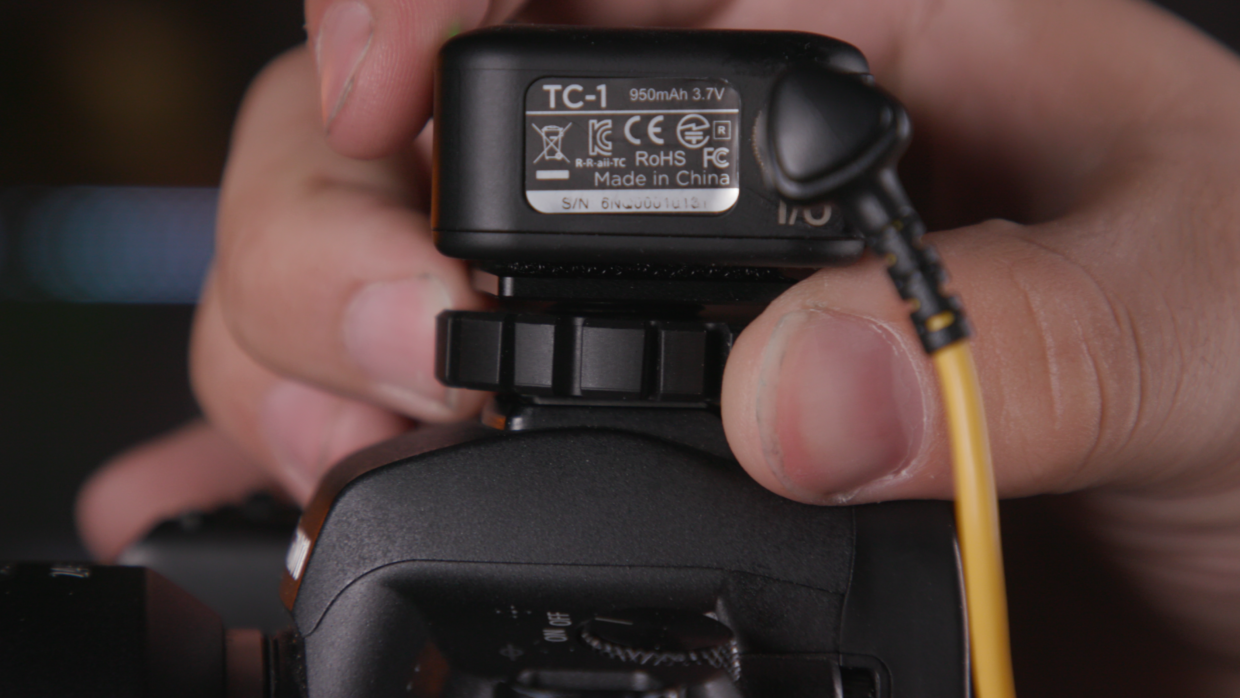
You’re Connected!
With that your Canon EOS R is now ready to be synced with the rest of your set!
If you need help syncing your Deity TC-1 to your other Deity TC-1 timecode generators, here is a User Guide!