
The ARRI ALEXA Mini LF has a dedicated TC connector, making it straightforward to jam-sync from a Deity TC-1. This guide covers the connection, matching frame rates, and the ALEXA menu settings that lock the camera to external timecode.
Step-By-Step User Guide
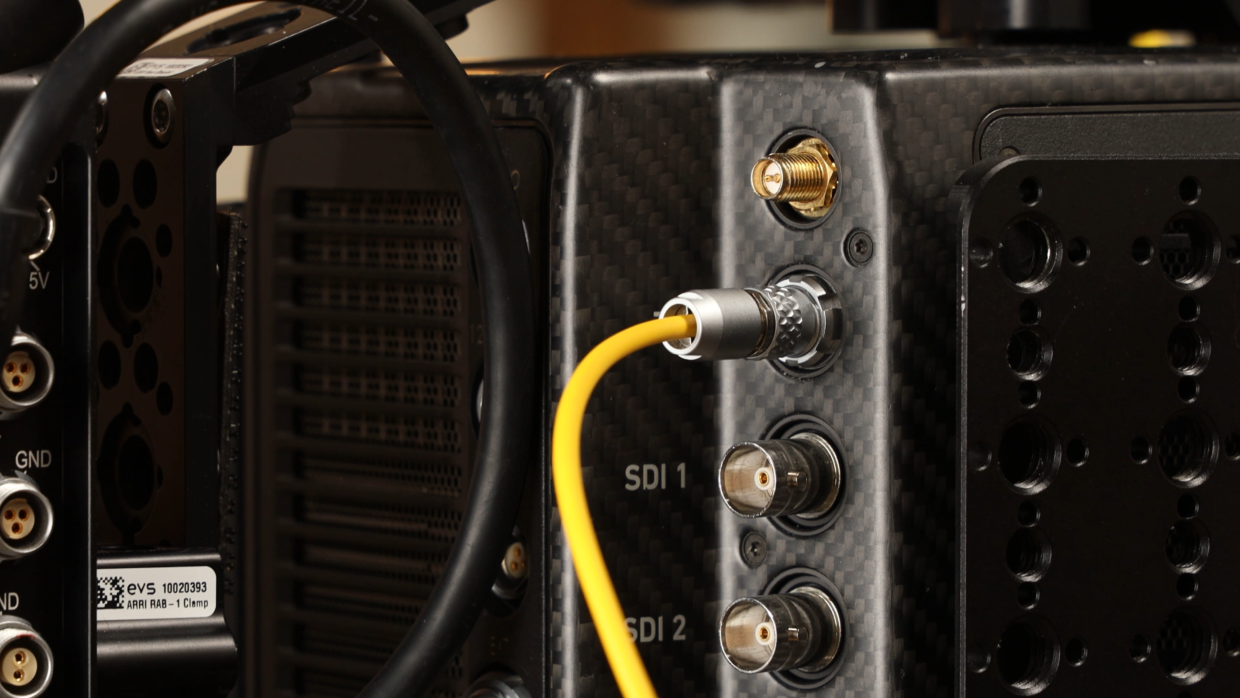
Step #1
First things first, grab a 5-Pin LEMO to 3.5 TRS cable. Next, locate the Timecode Port on the right side of the camera and plug it in.
Step #2
Really quickly, confirm your frame rate, in this case I’m using “24.“
On your TC-1, scroll over to the frame rate section and match it to the camera.
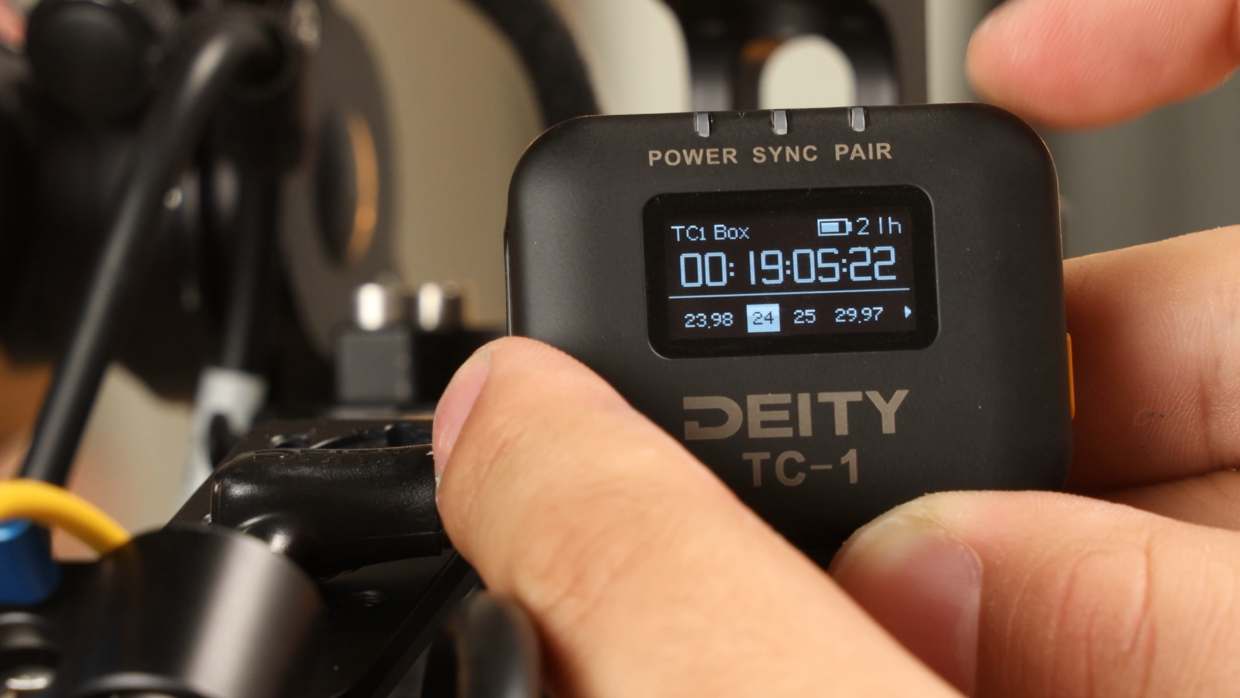
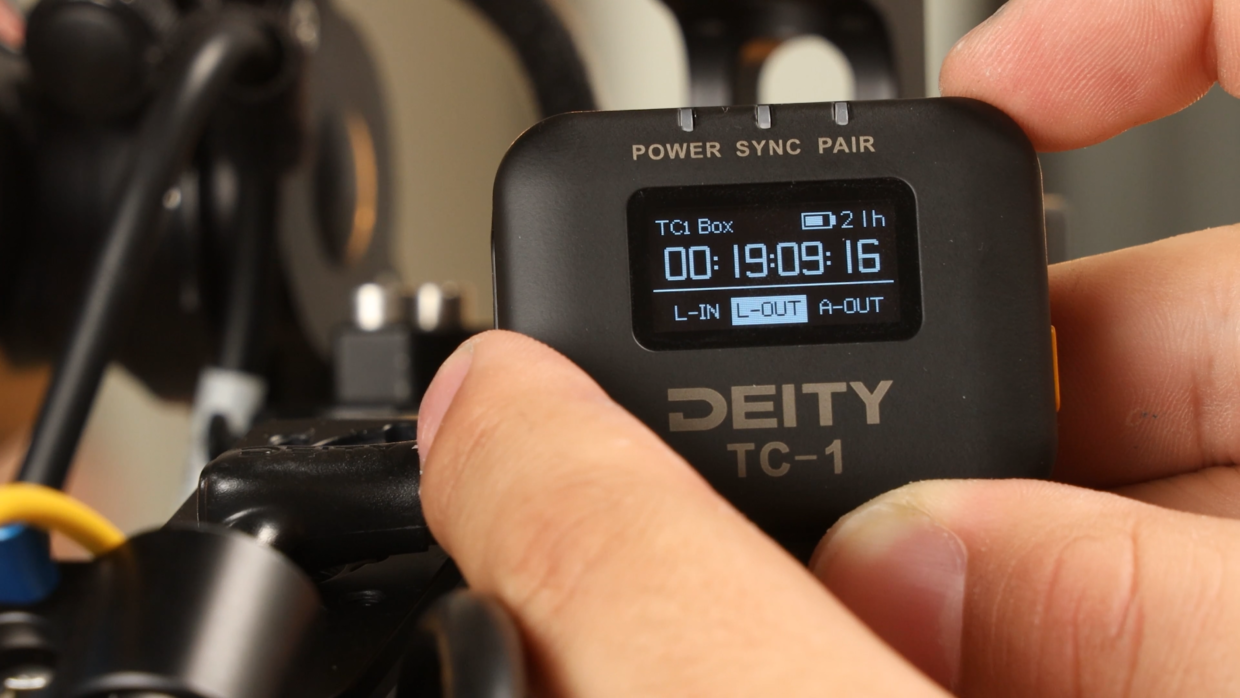
Step #3
Next, scroll over to the out type section and select “L-Out.”
Step #4
Next, open your camera’s “timecode options menu.”
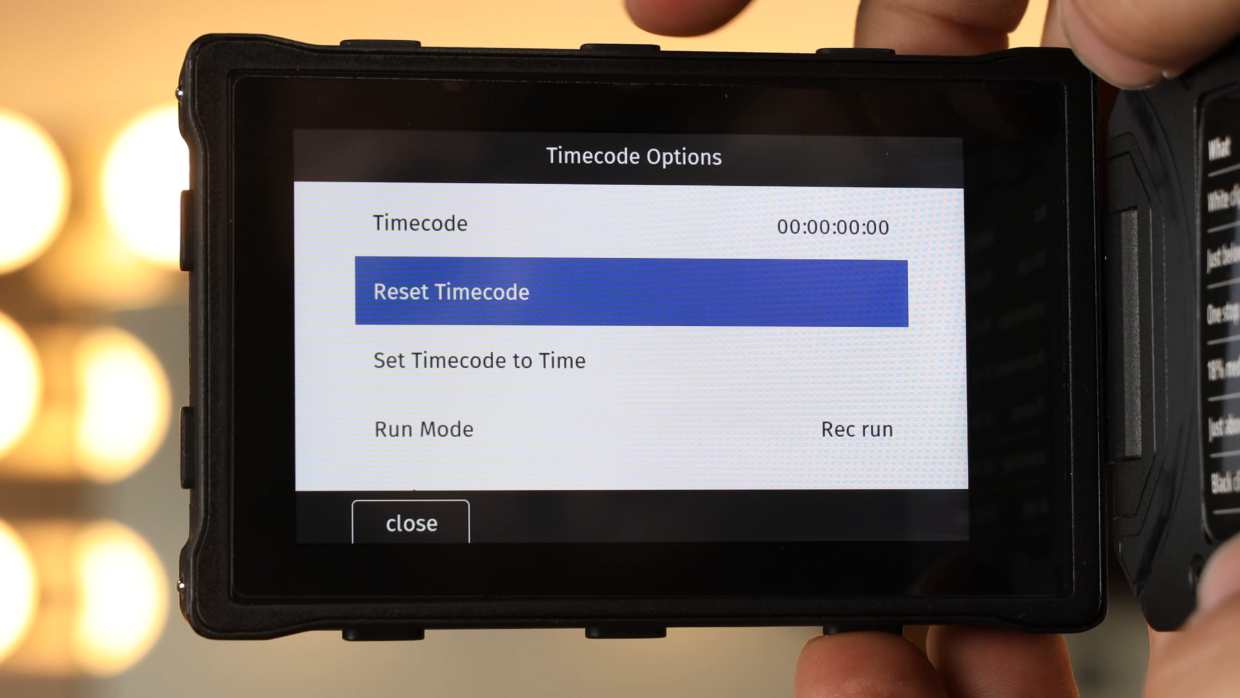
Step #5
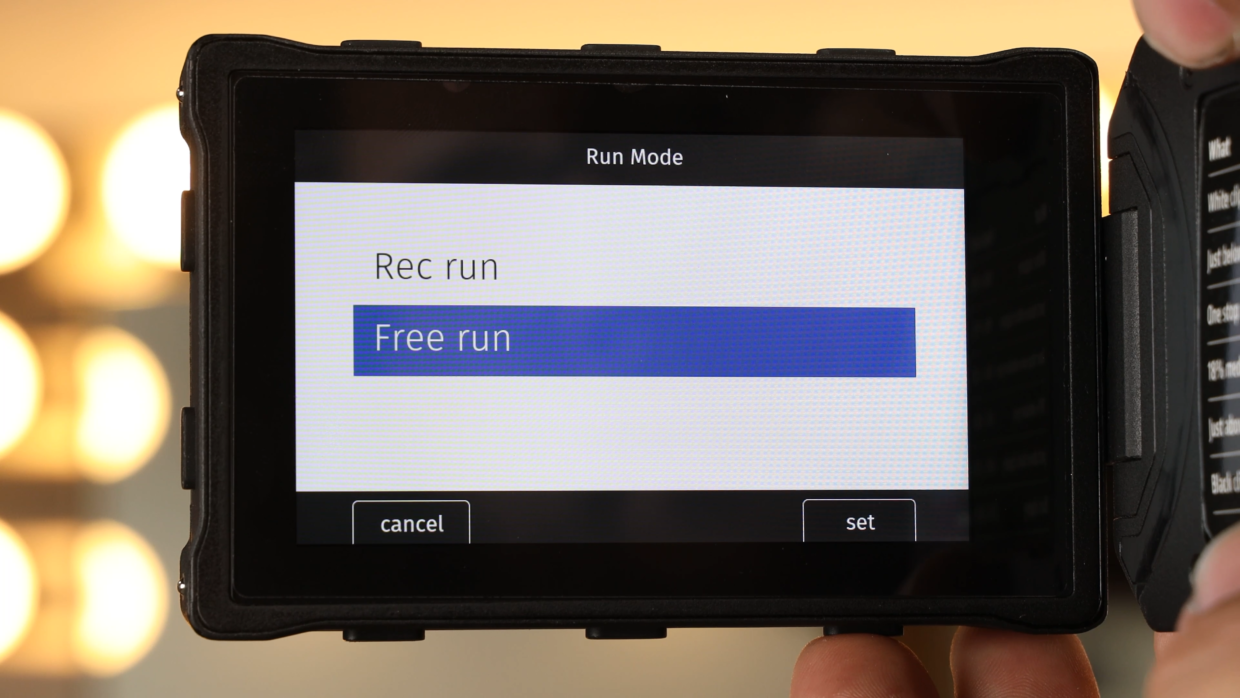
Inside of this menu, scroll down to “Run Mode” and inside this, select “Free Run”
Step #6
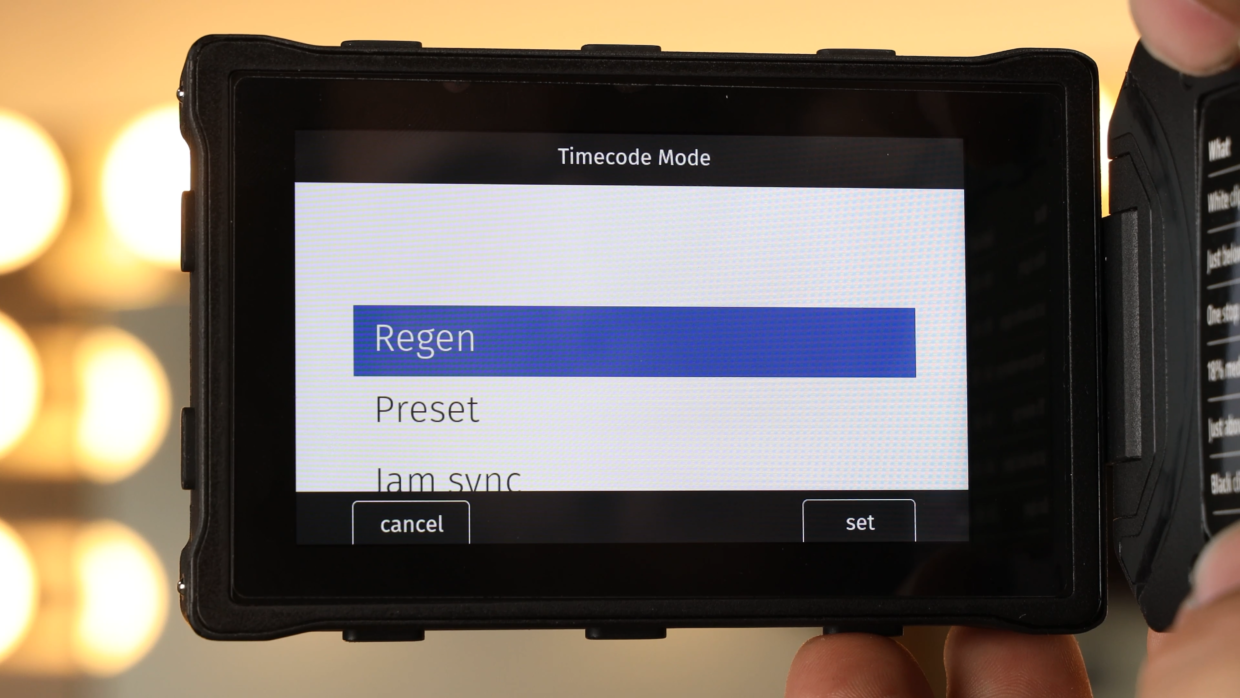
Once that’s done, return to the options menu and scroll down to “Mode” and inside this select “Regen.”
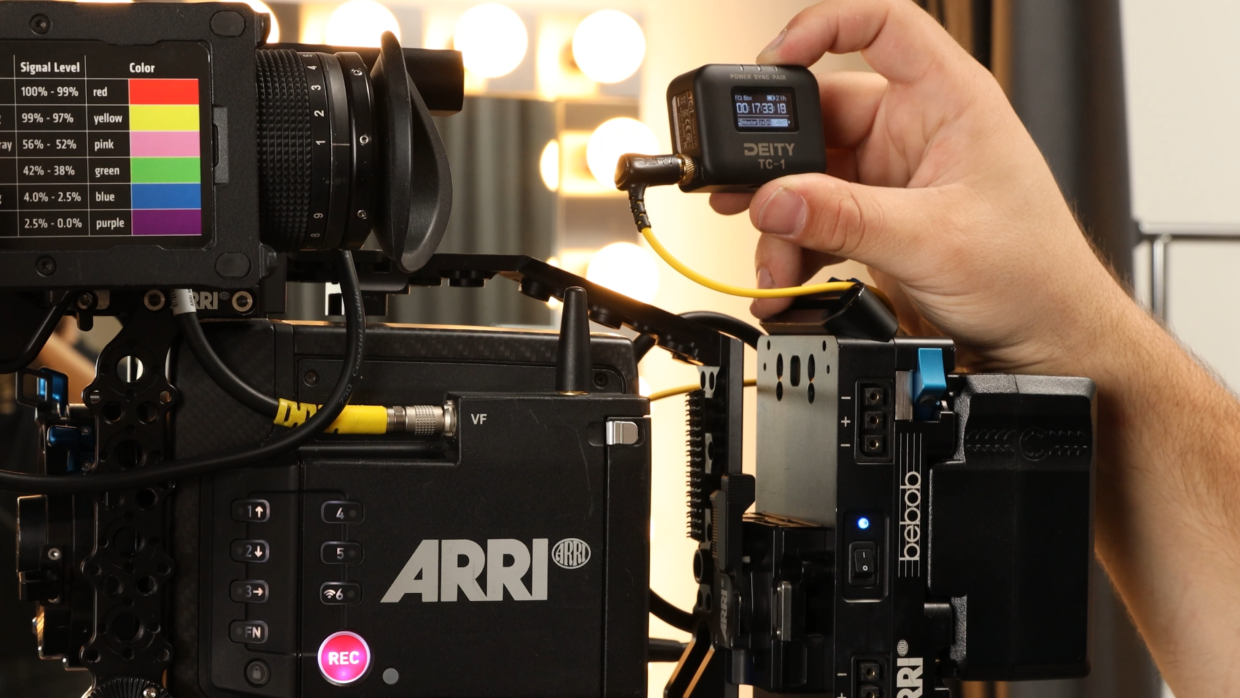
You’re Connected!
Your ALEXA Mini LF will recognize this signal and is ready to be synced with the rest of your set!
If you need help syncing your Deity TC-1 to your other Deity TC-1 timecode generators, here is a User Guide!